The Year in Books: 2020

I am very late in writing this post. 2020 isn’t a year I’m eager commemorate. In that view before I get into my usual tally of books read and highlights here are a few charities I supported last year. Being able to help even just by giving money was one of the few things that made the worst times bearable.

Feeding America

The Lake Street Council

OutFront Minnesota

Campaign Zero

National Nurses United

There were a few personal highlights. To begin with, on January 1st of 2020 Cossmass Infinites launched, featuring my story Deadbeat in the first Issue. If a story about the illegitimate daughter of a deceased superhero set in Chicago appeals to you it’s available to purchase here.

September saw my story Ten Secret Things You Don’t Know about Closet Monster published by Daily Science Fiction. It can be read here.

It’s always thrilling to see my writing out in the world. Watch this space as a at least two more will be coming out this year.

2020 is also the year I qualified for and joined the SFWA.

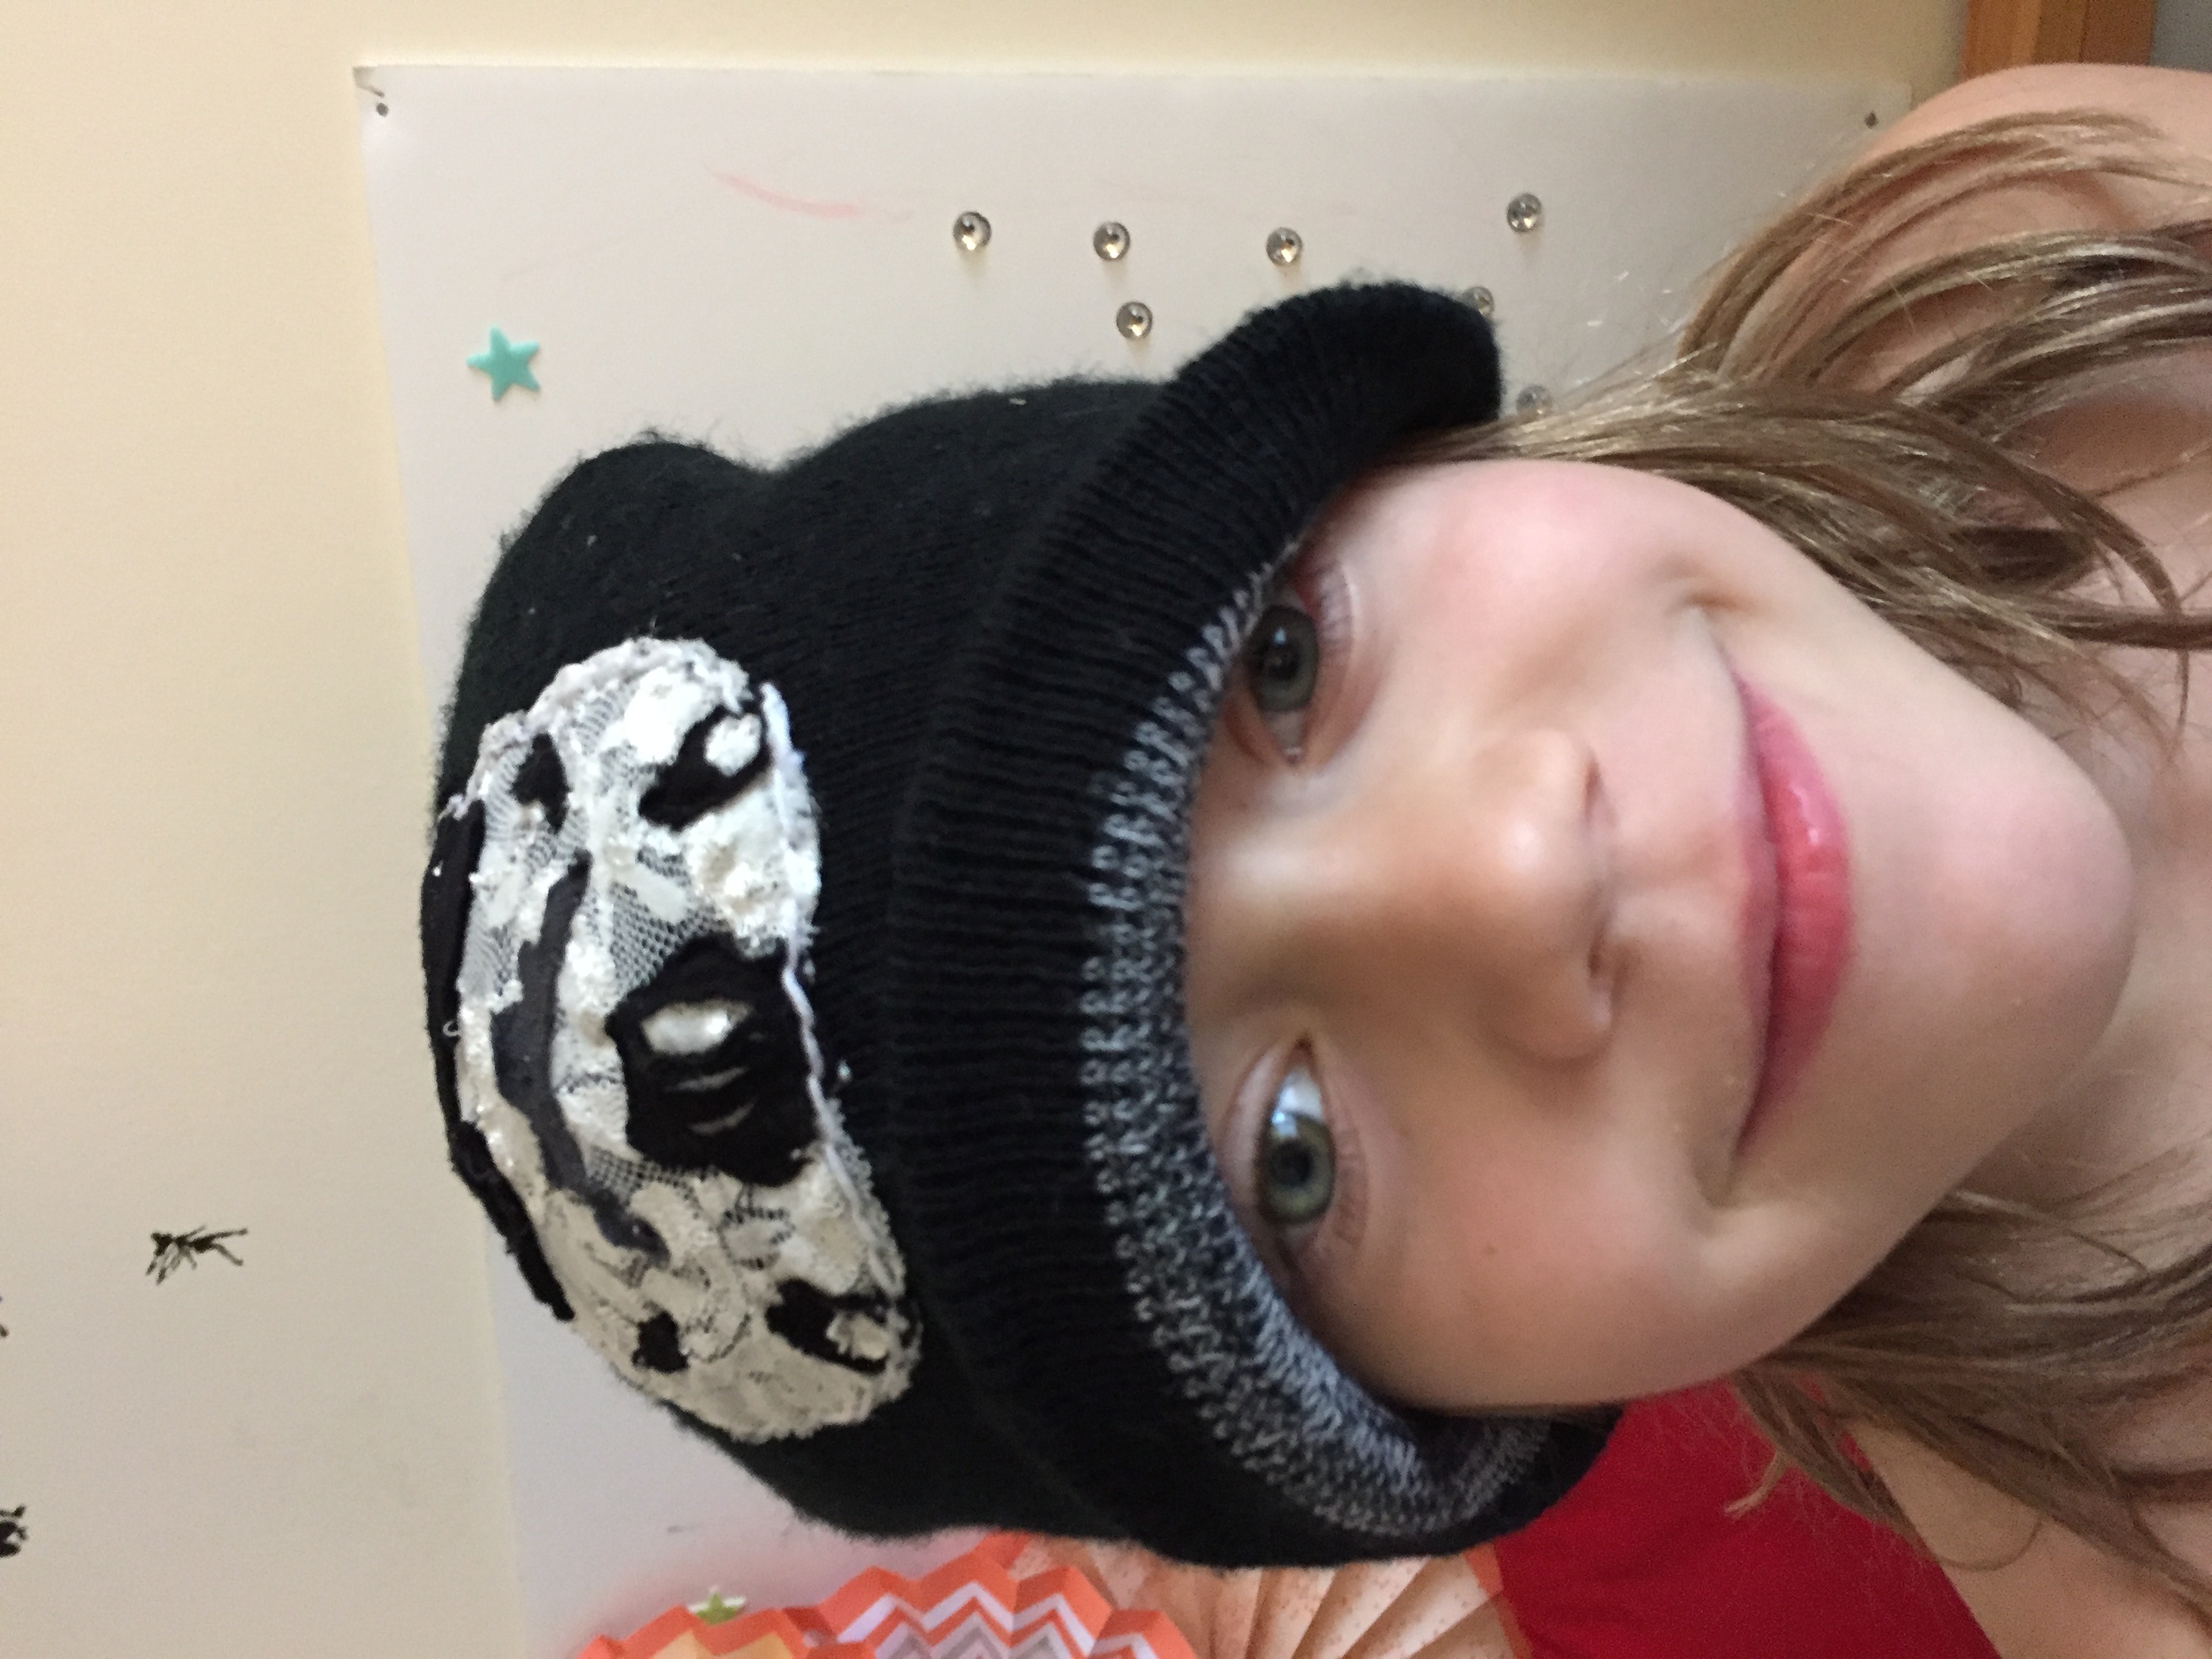
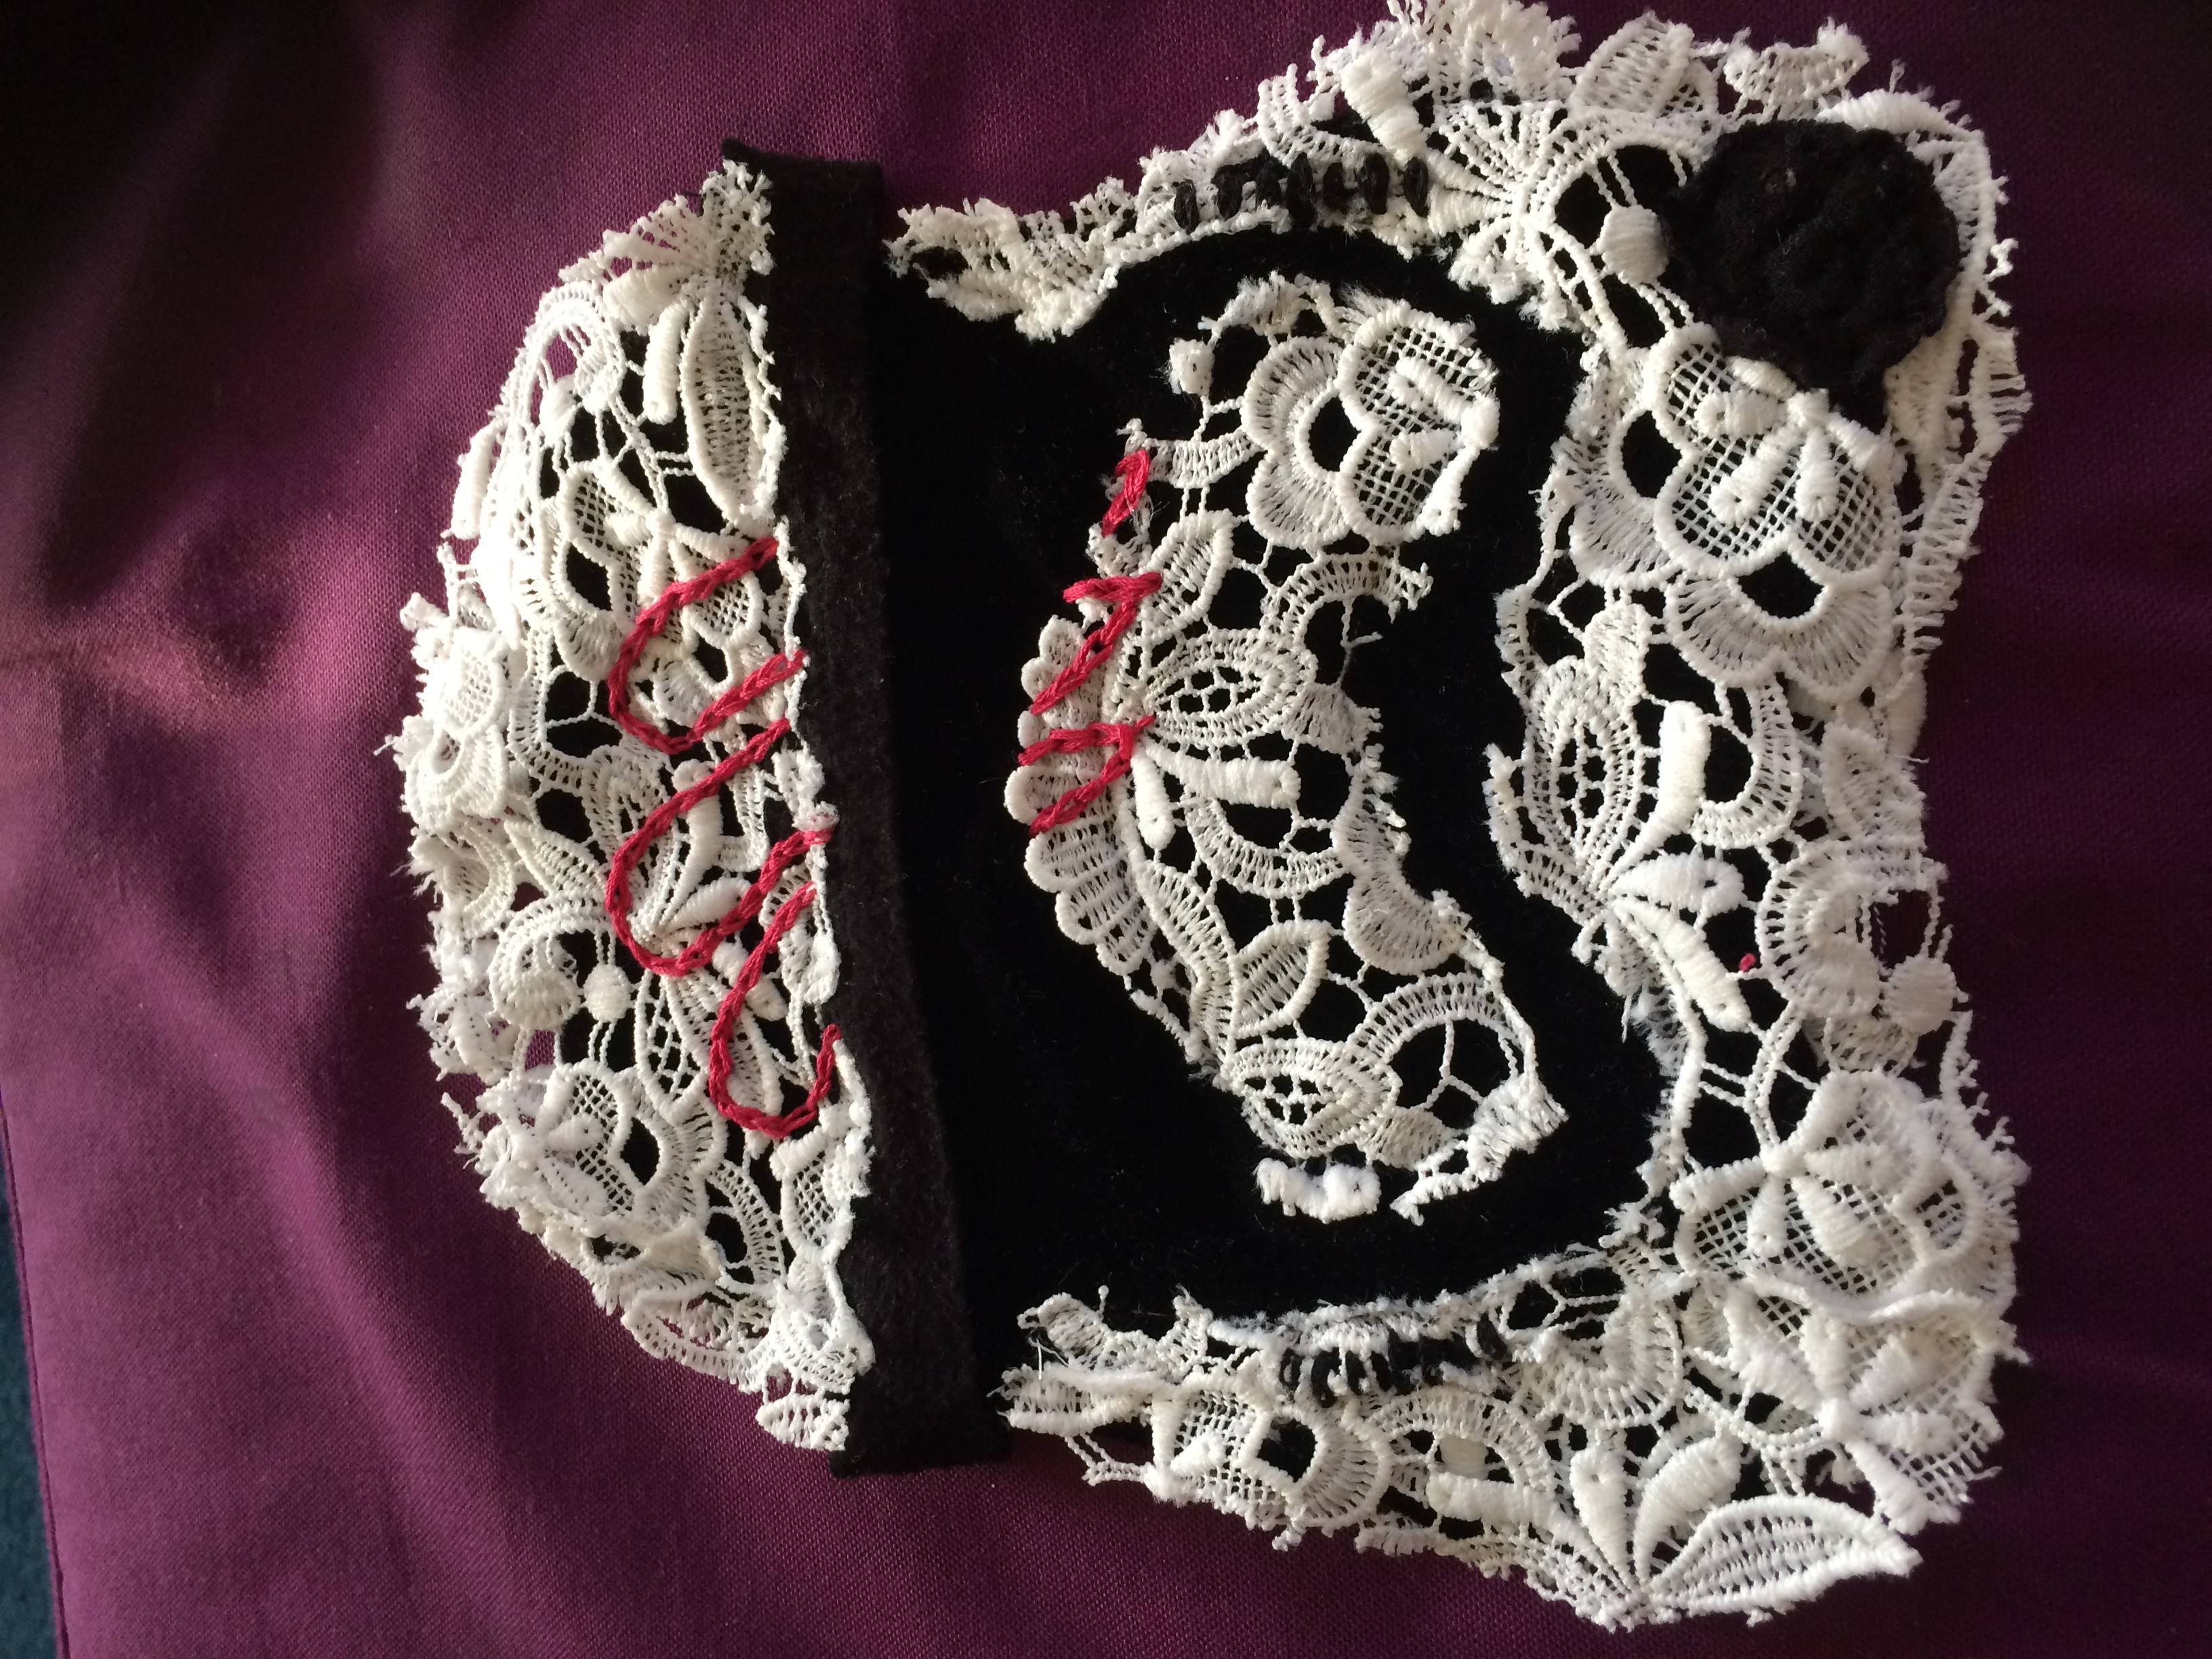
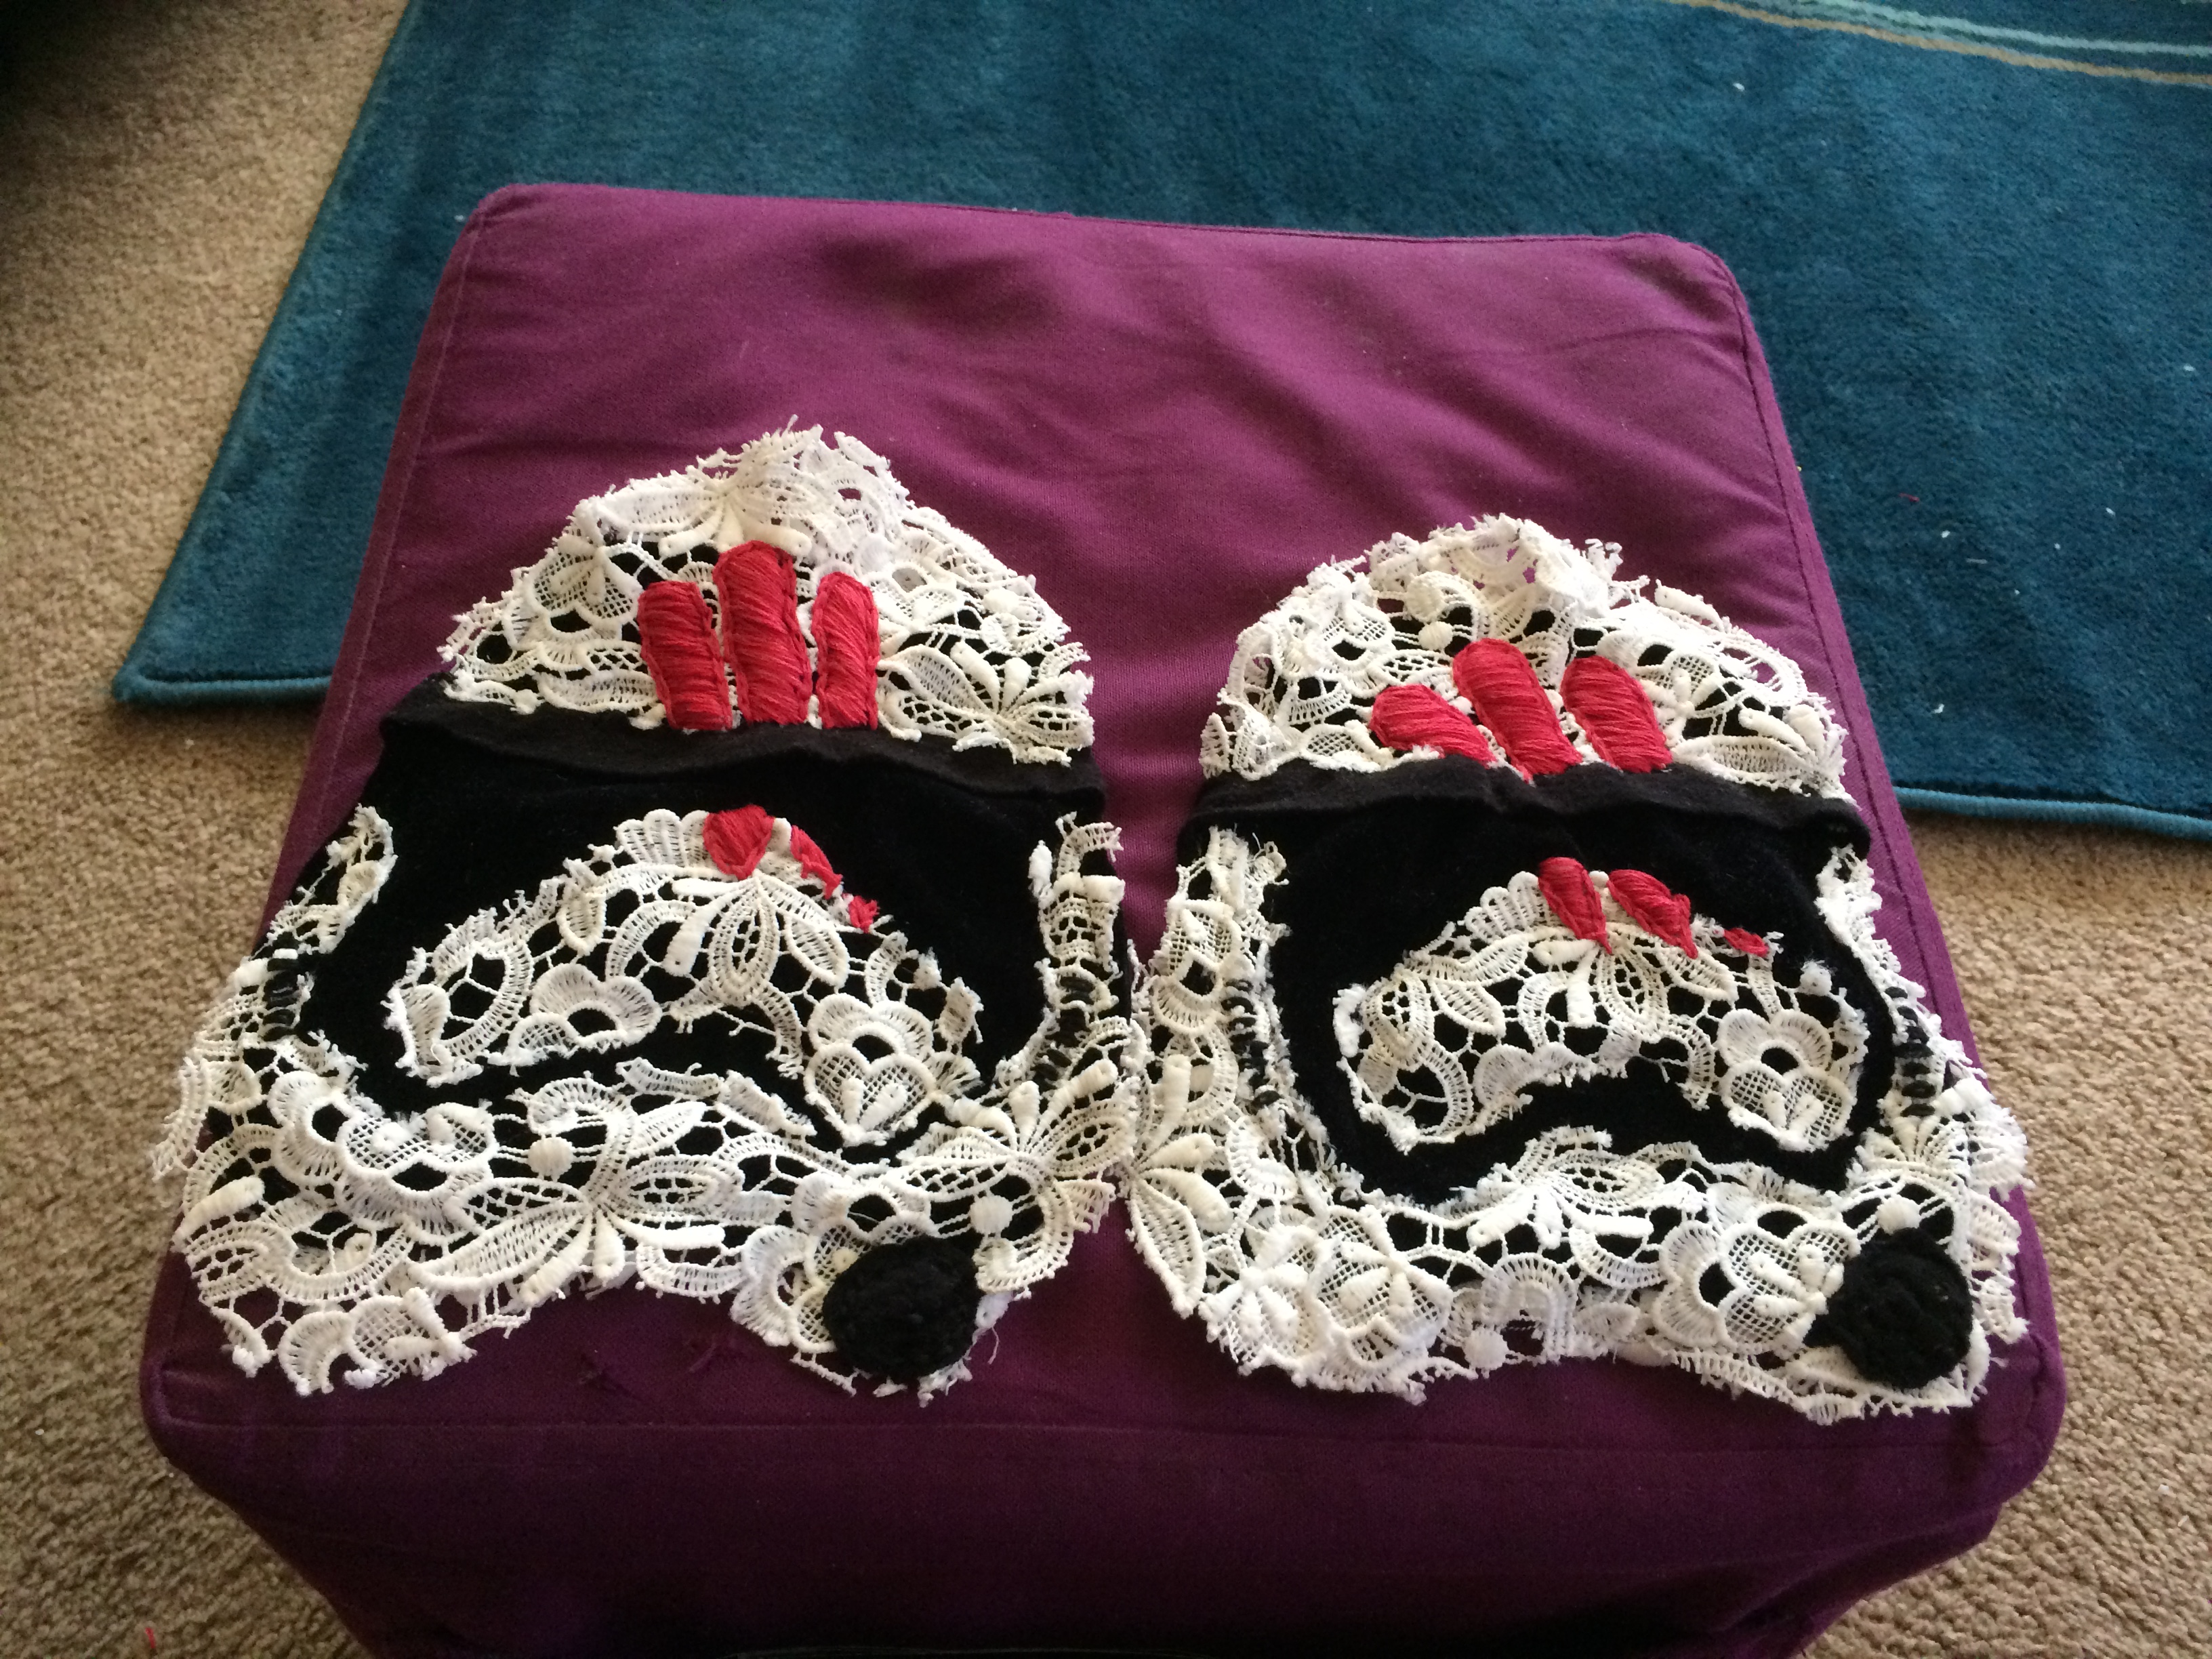
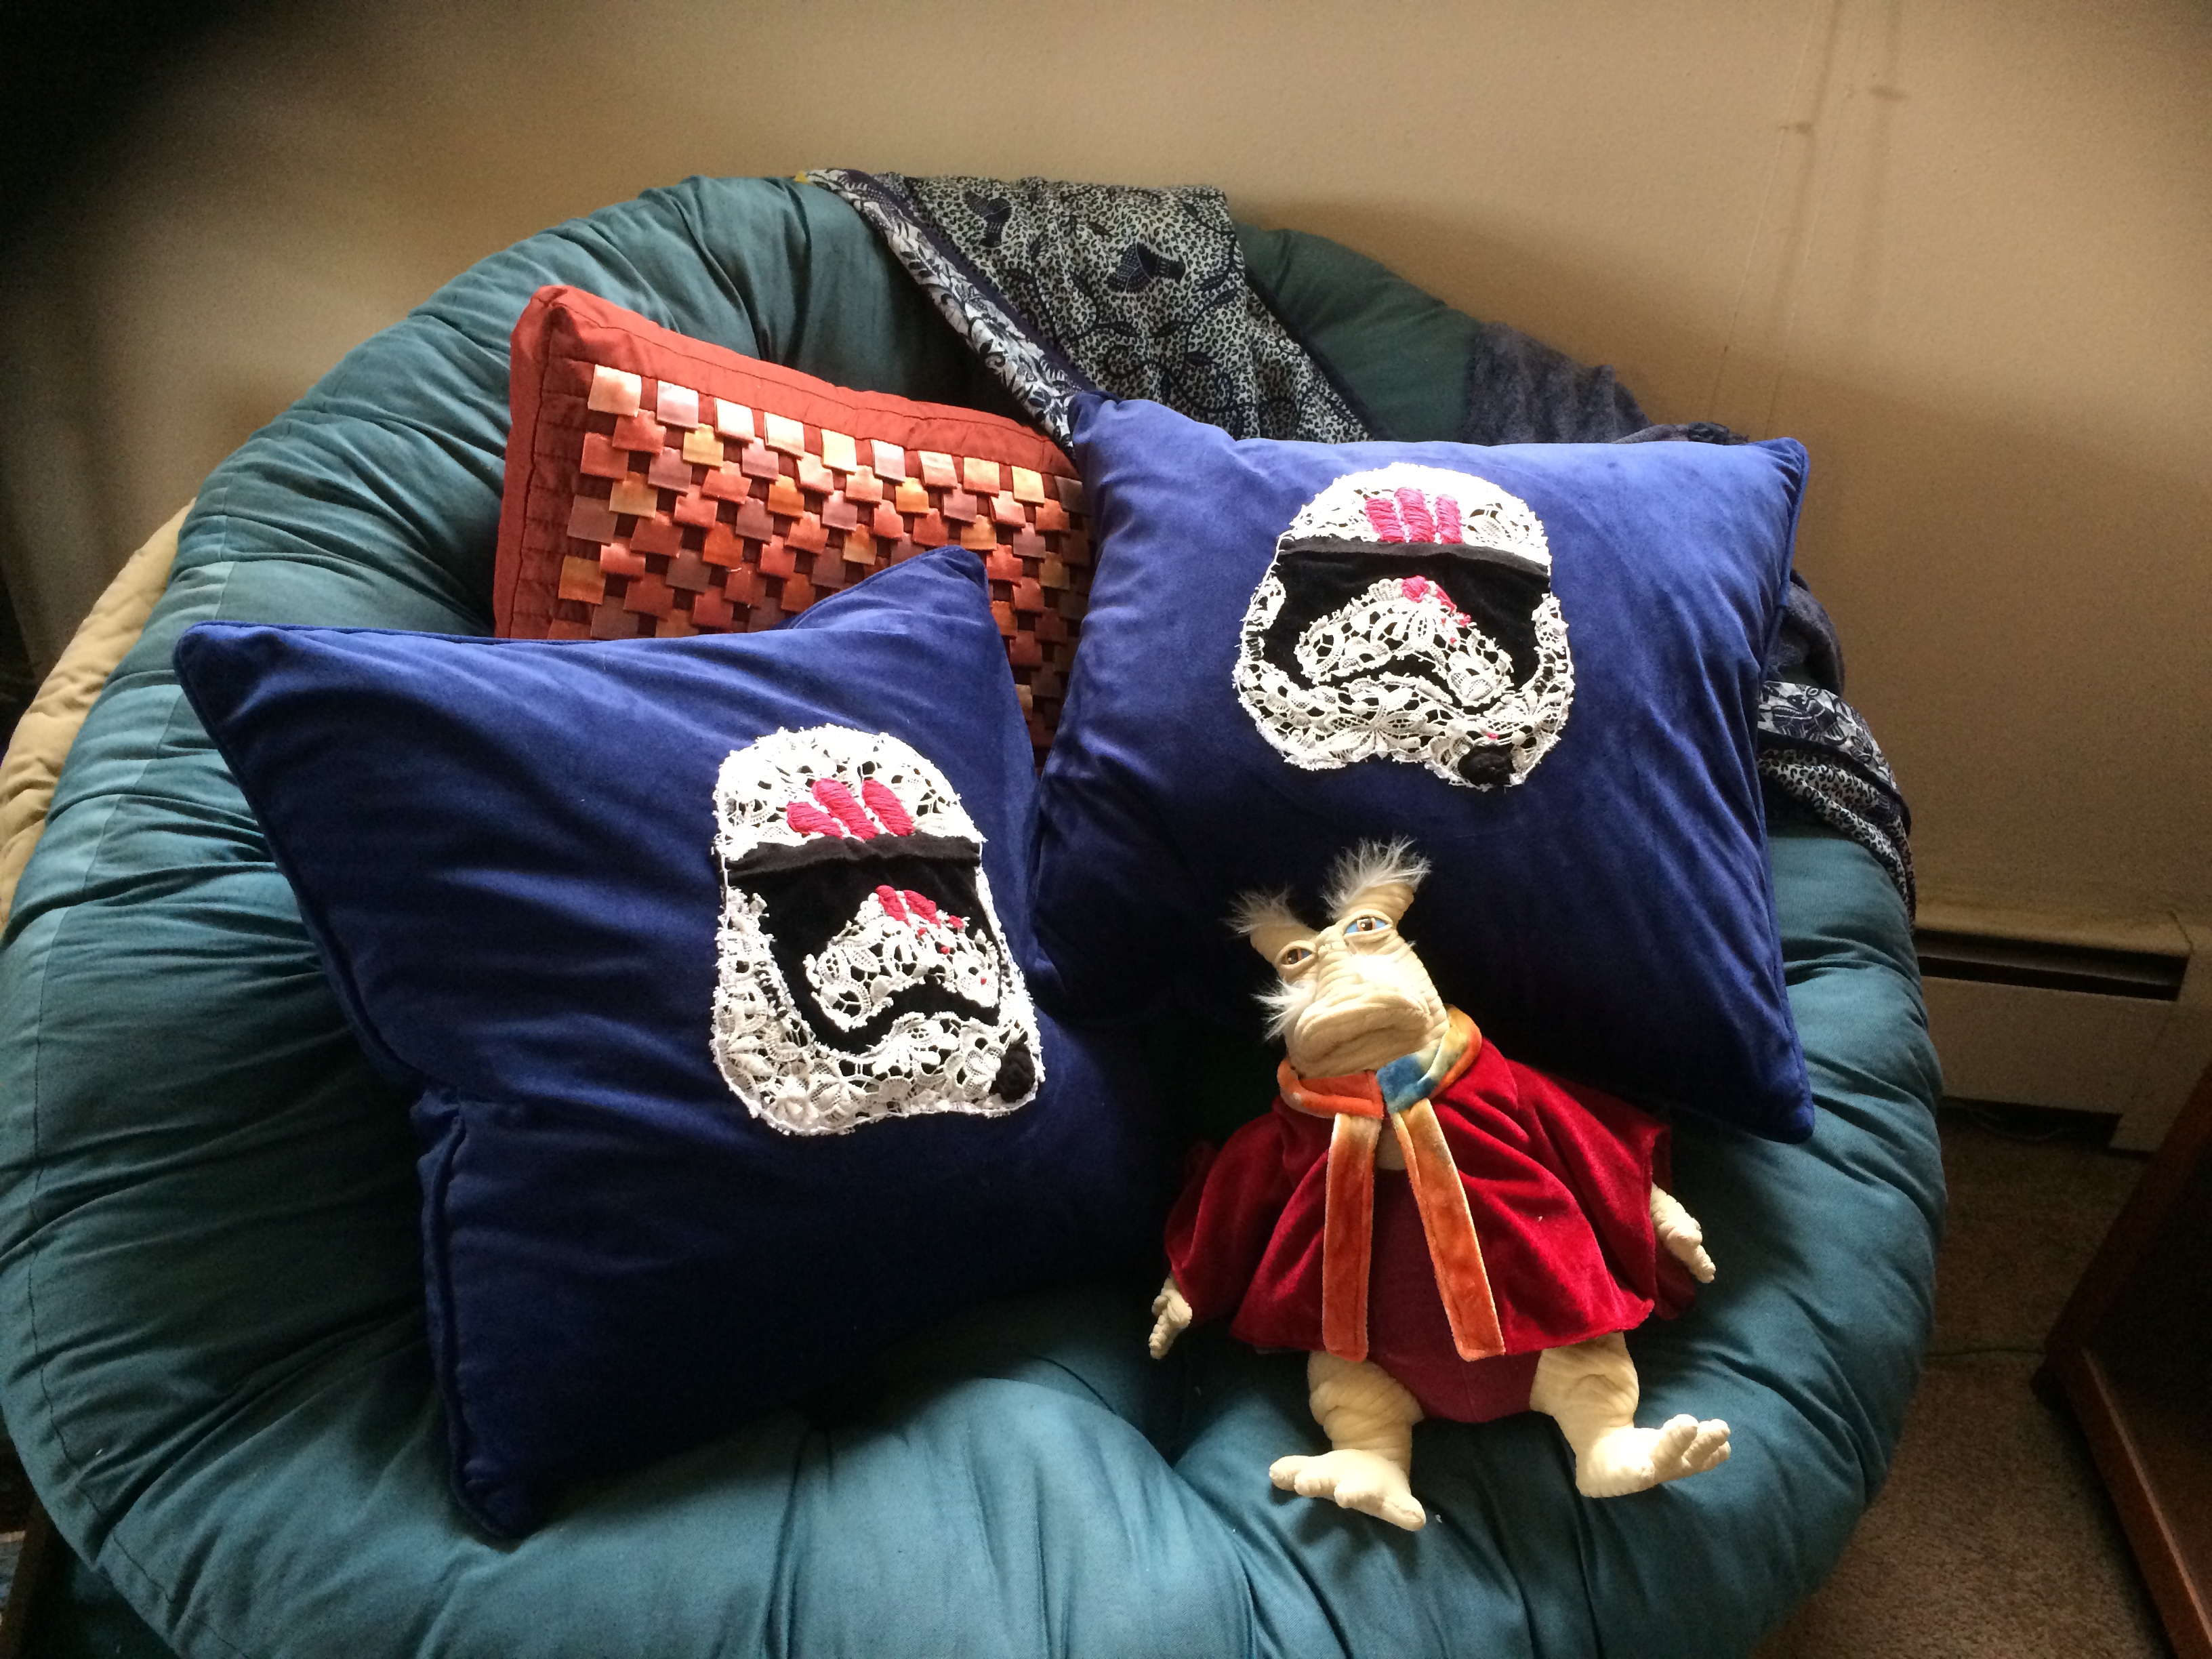
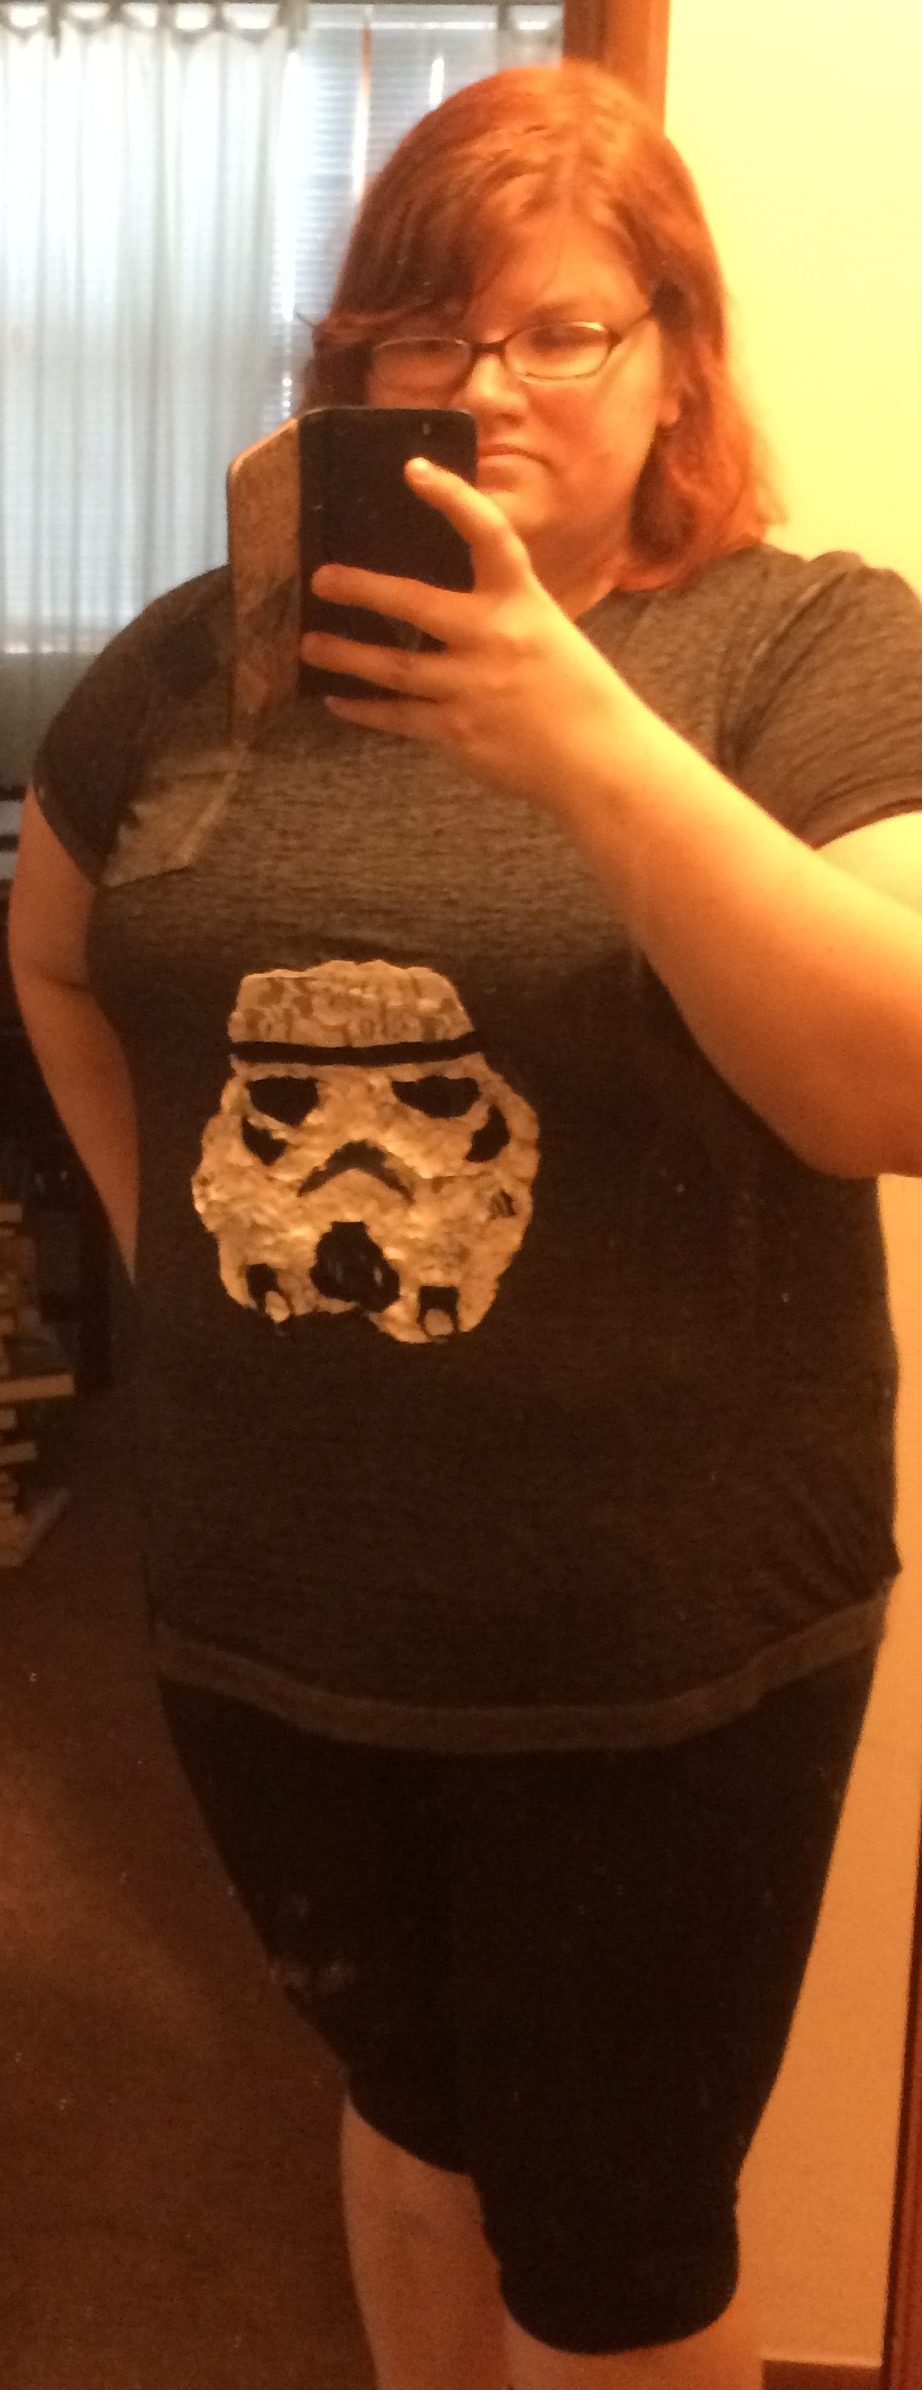
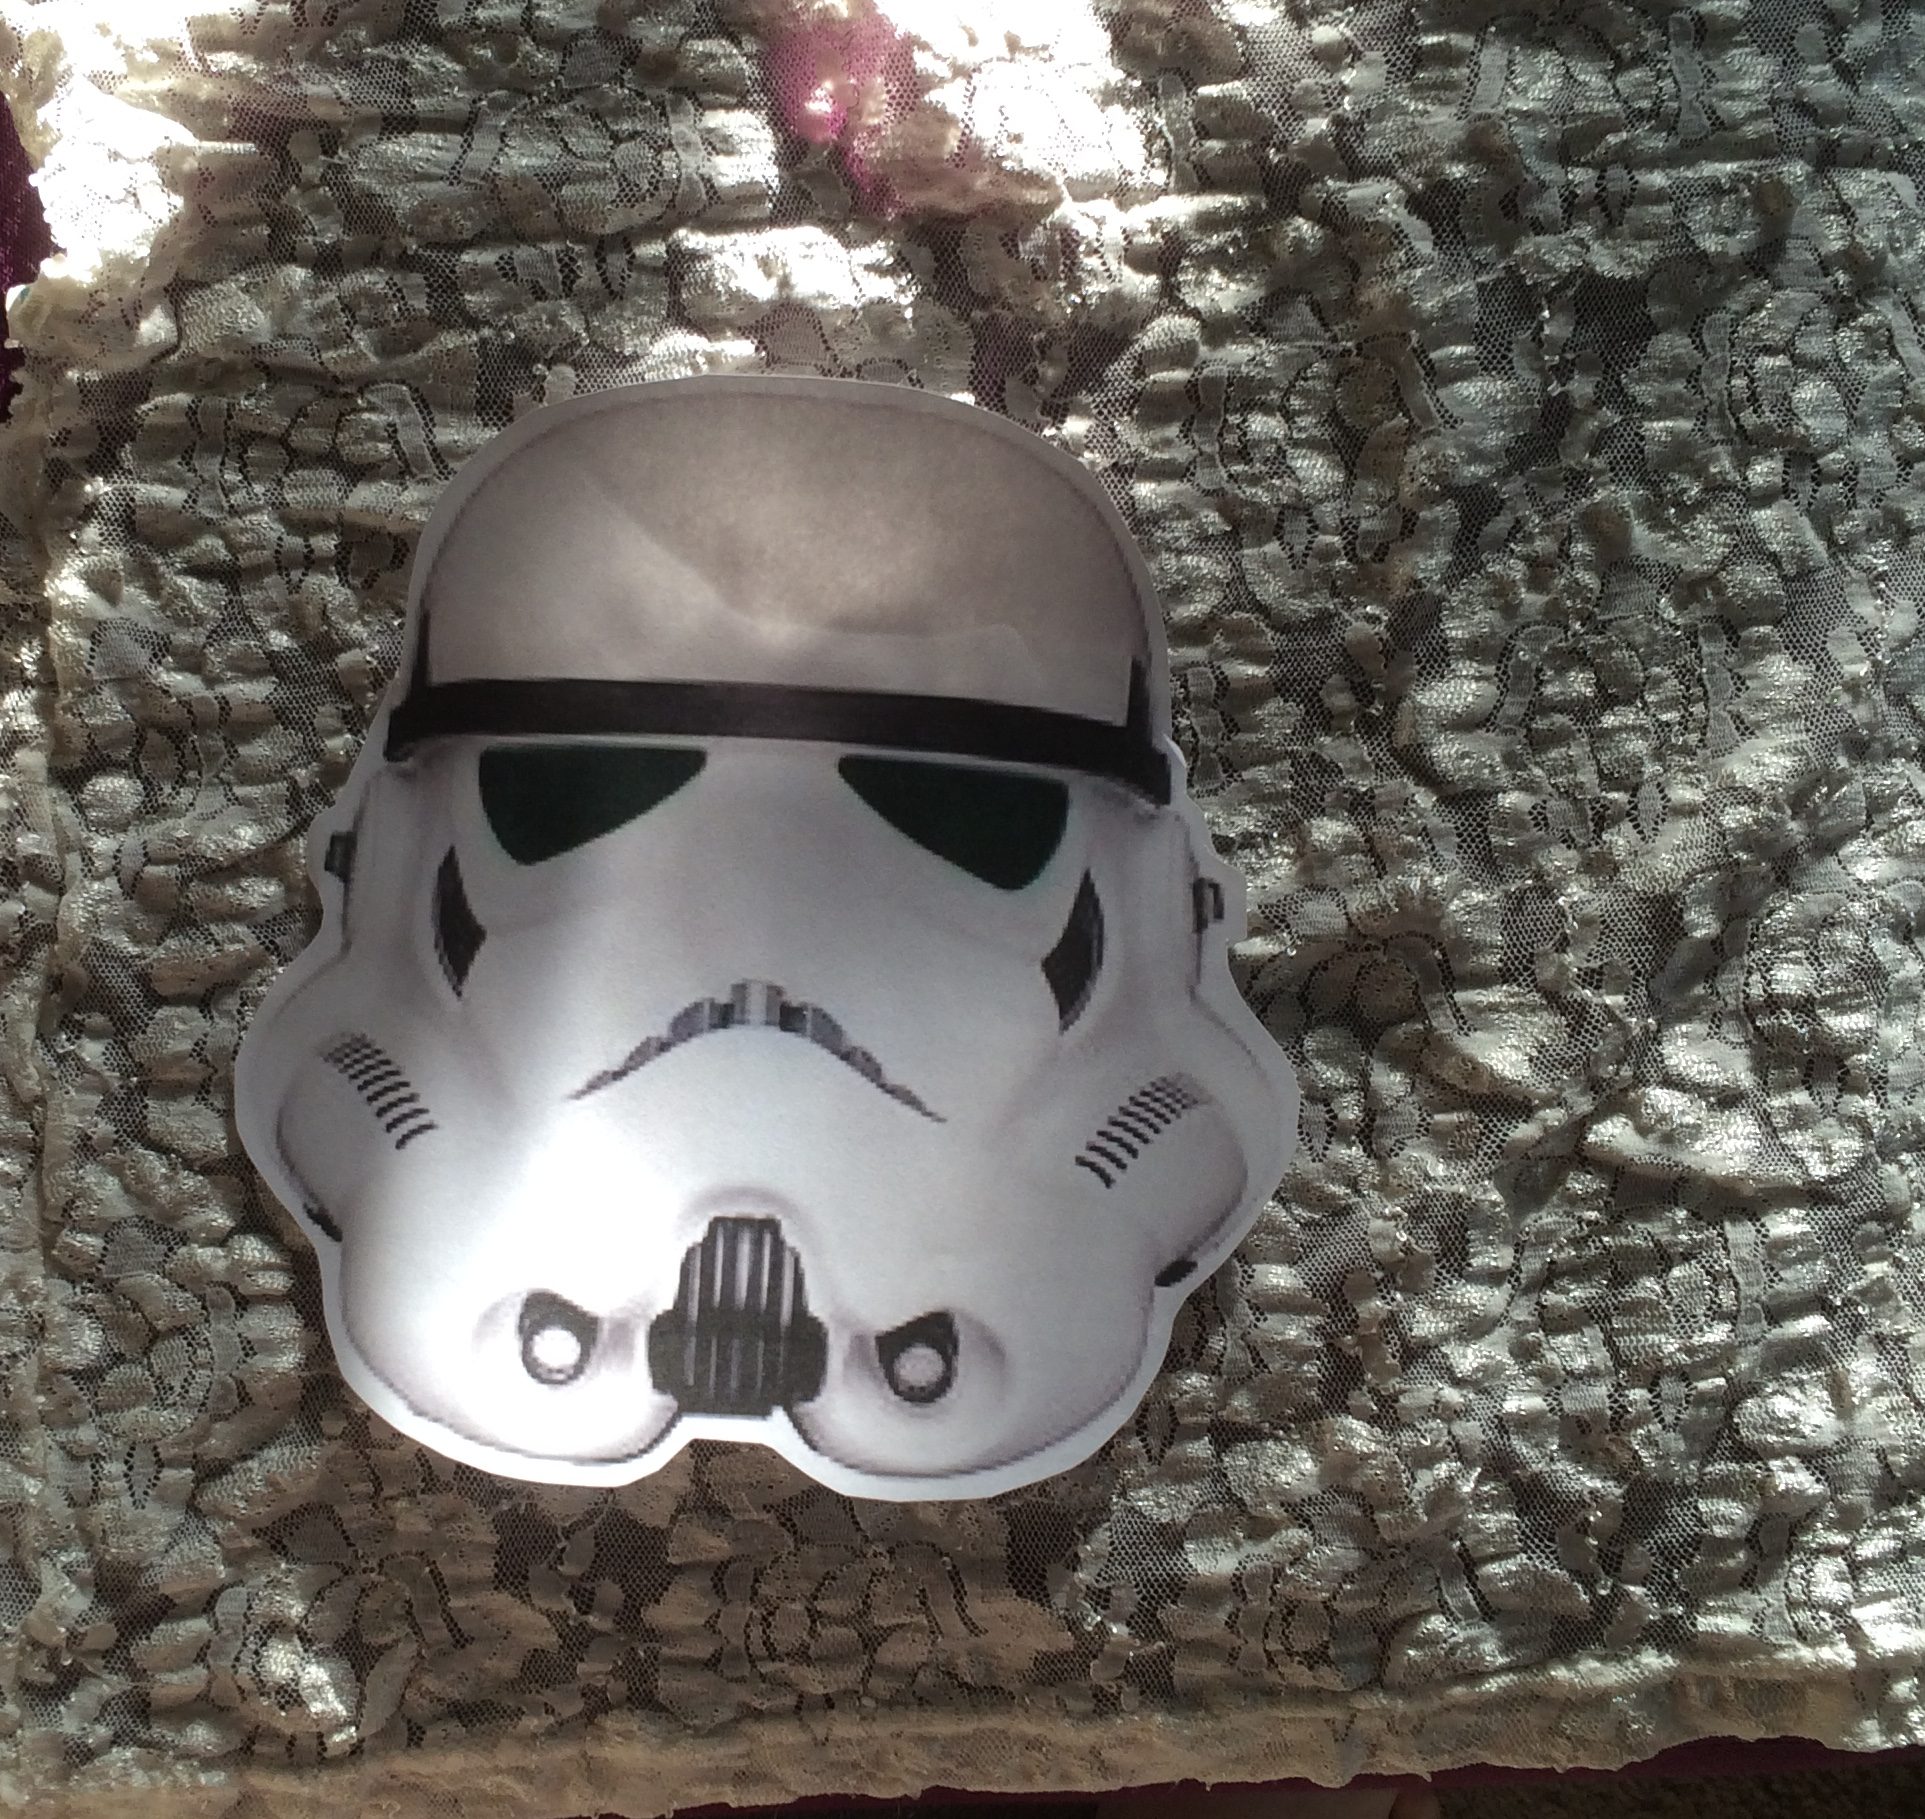
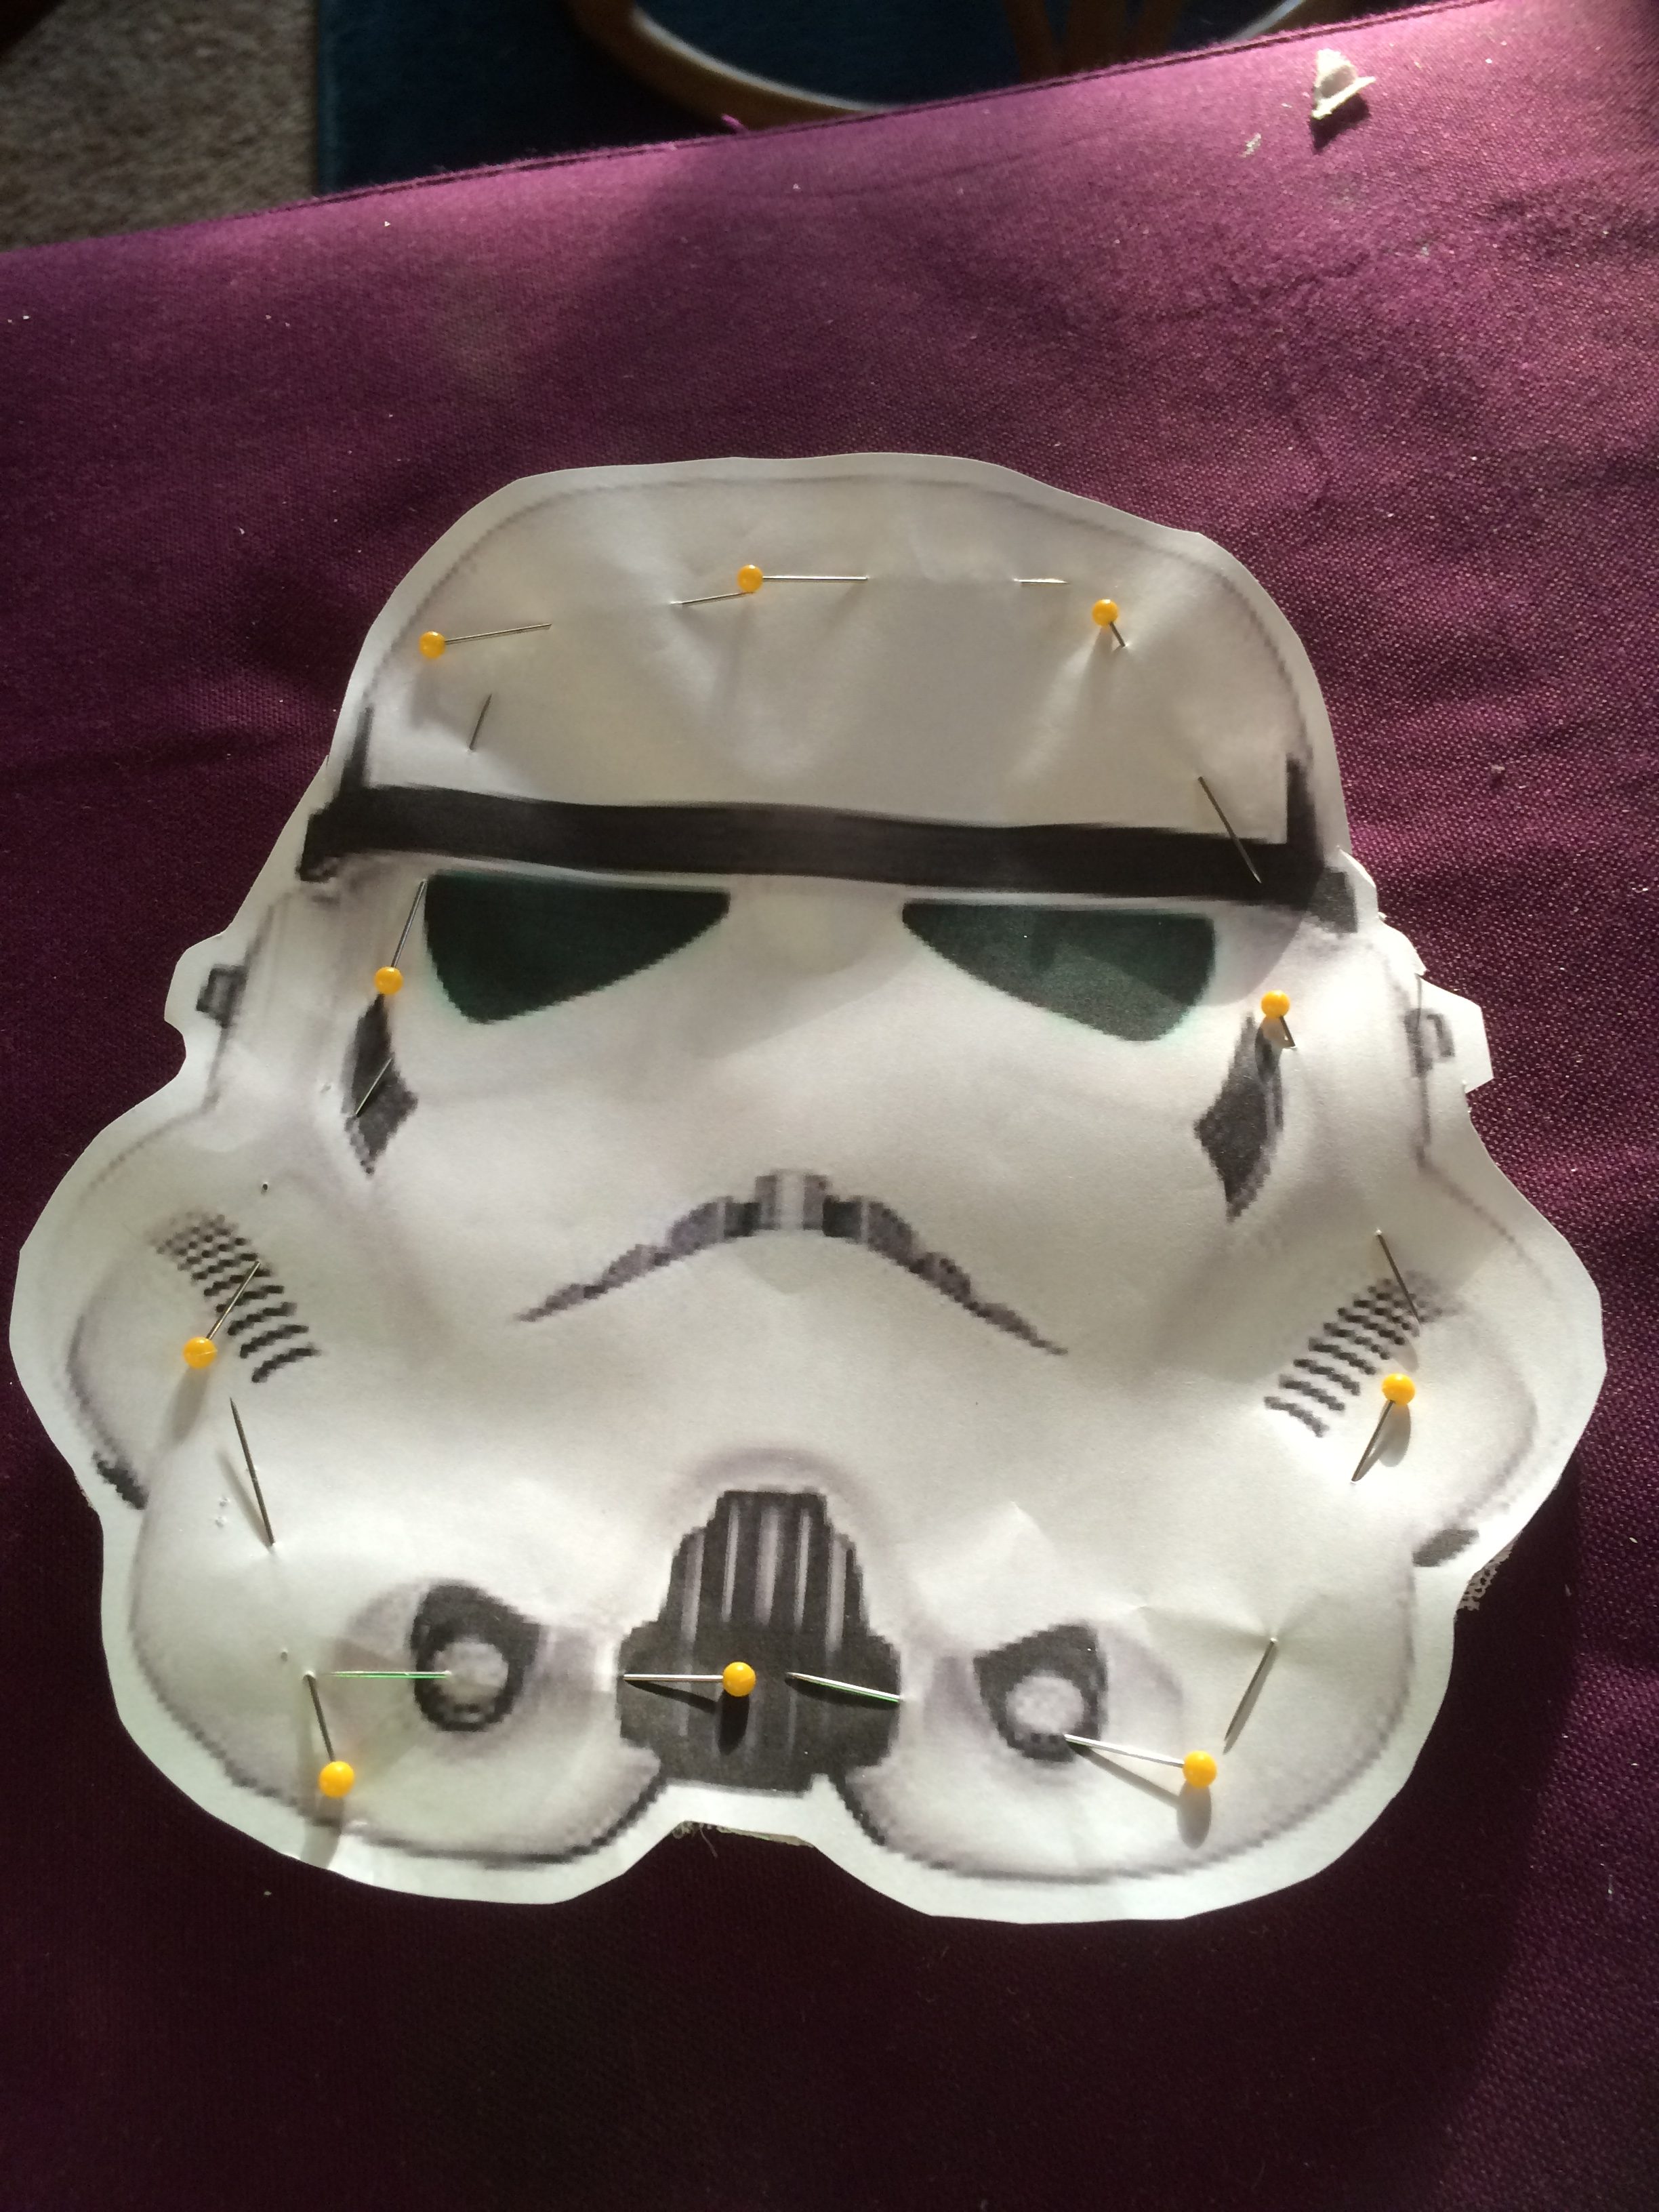
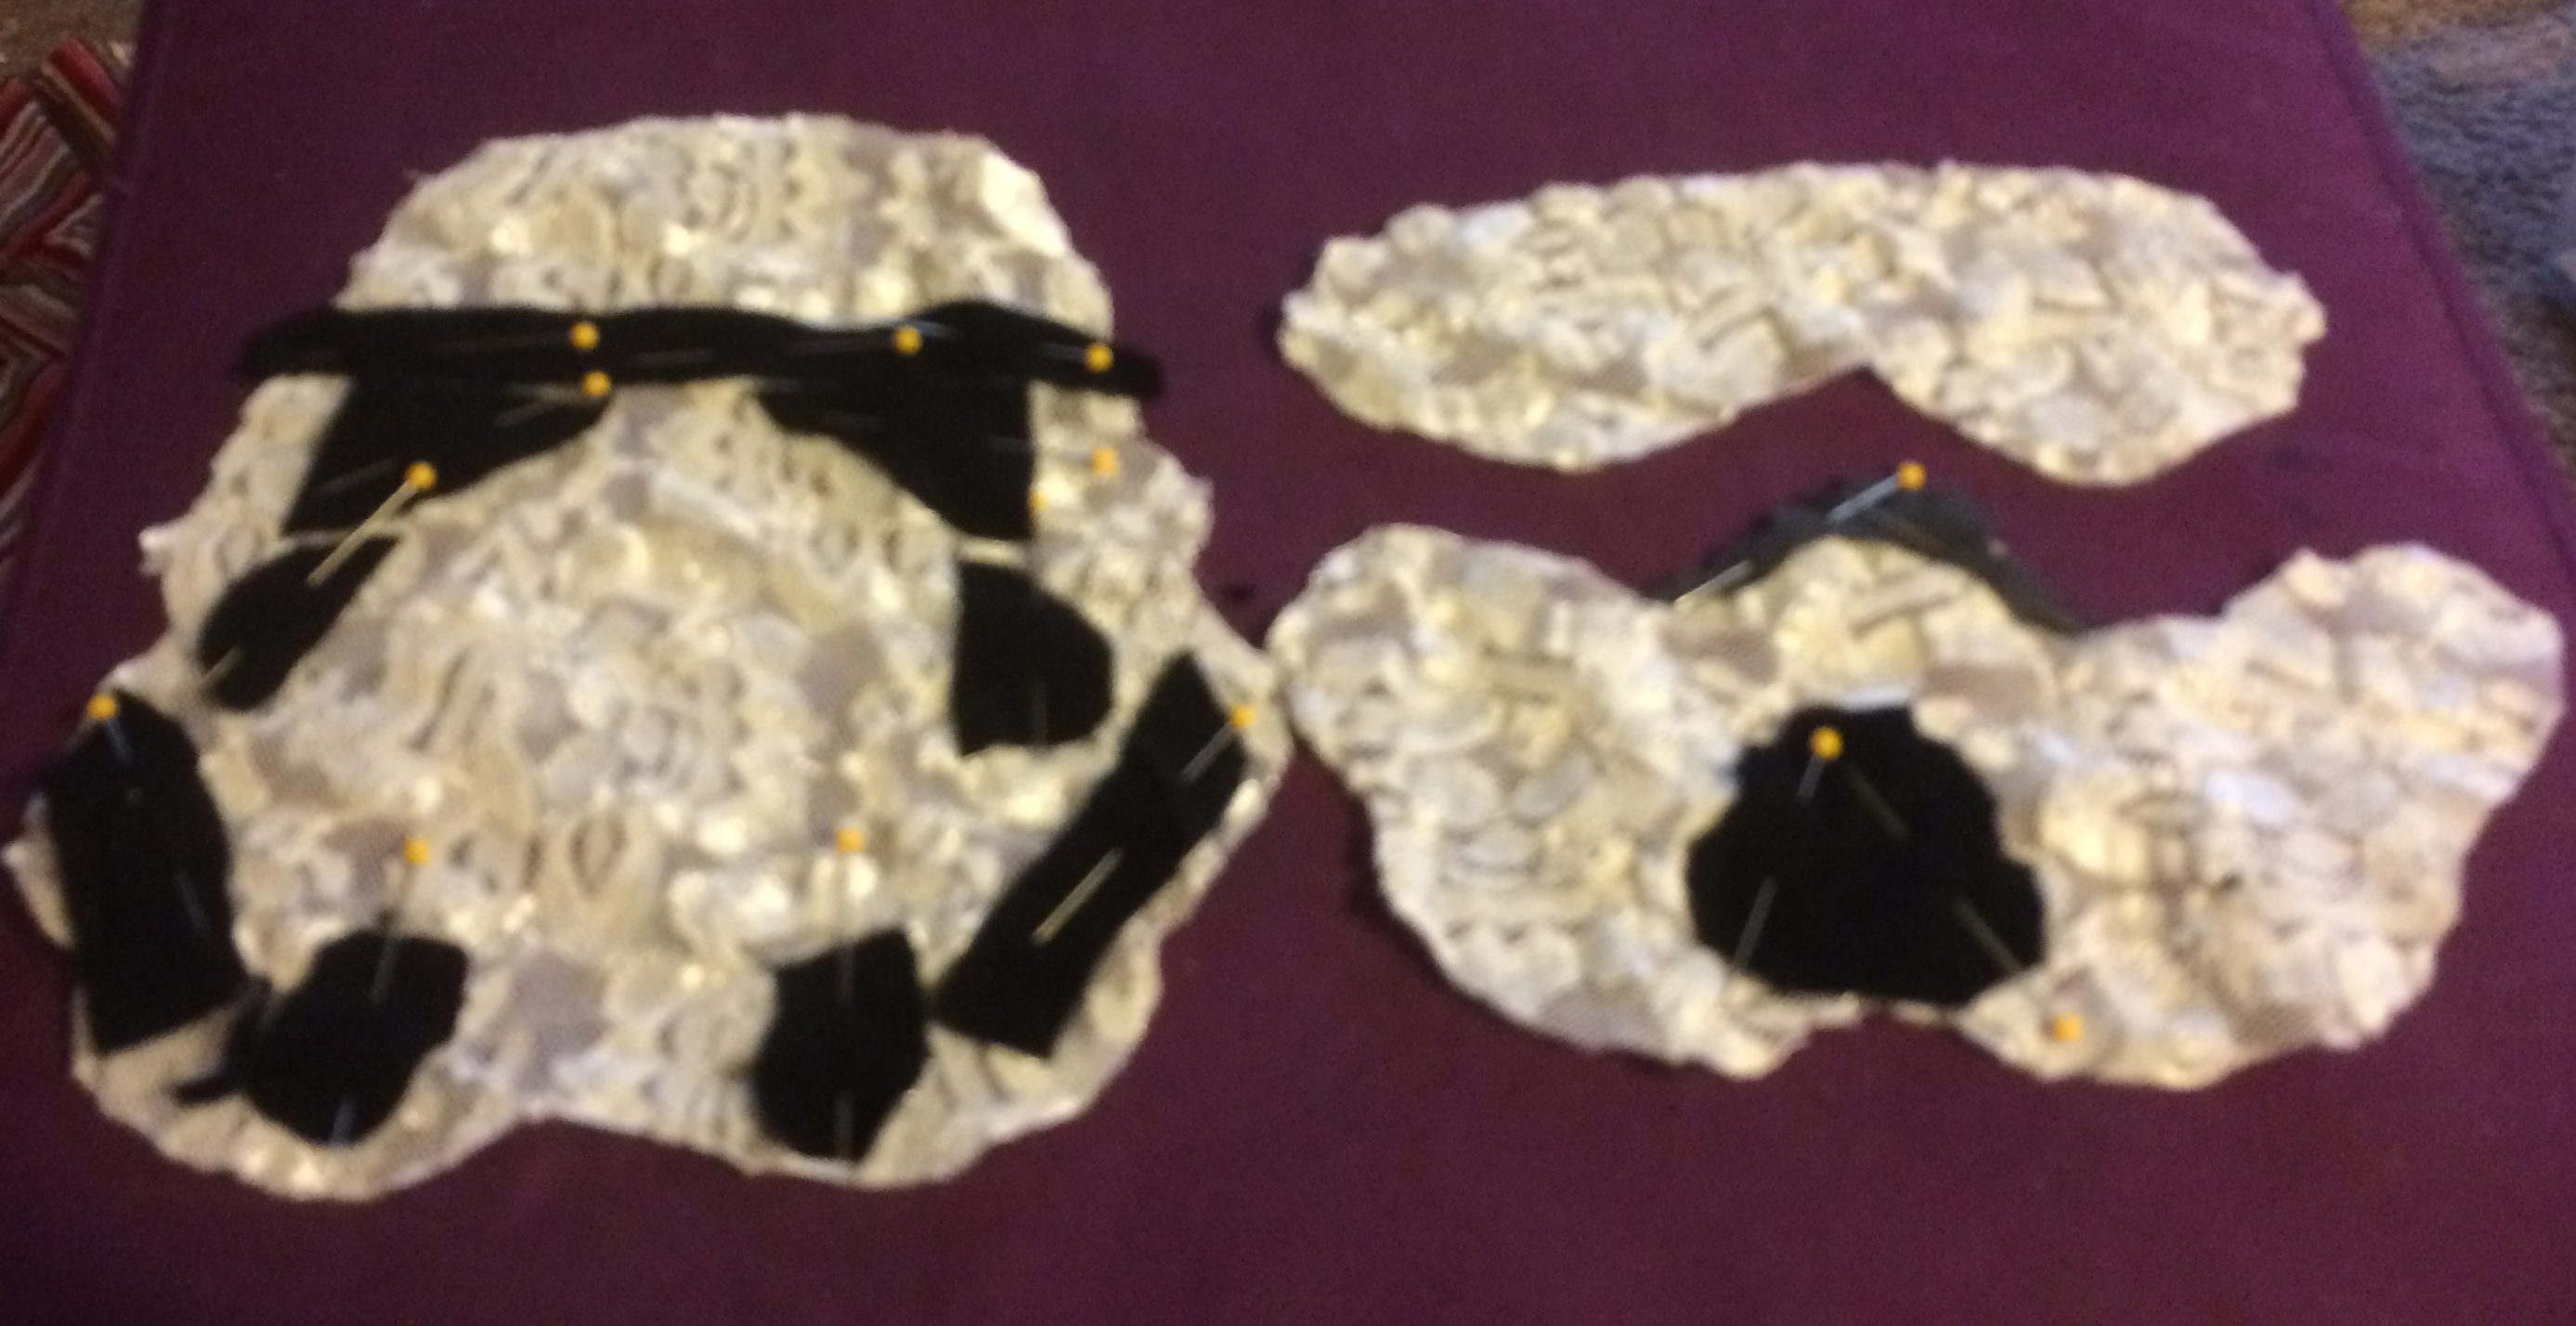
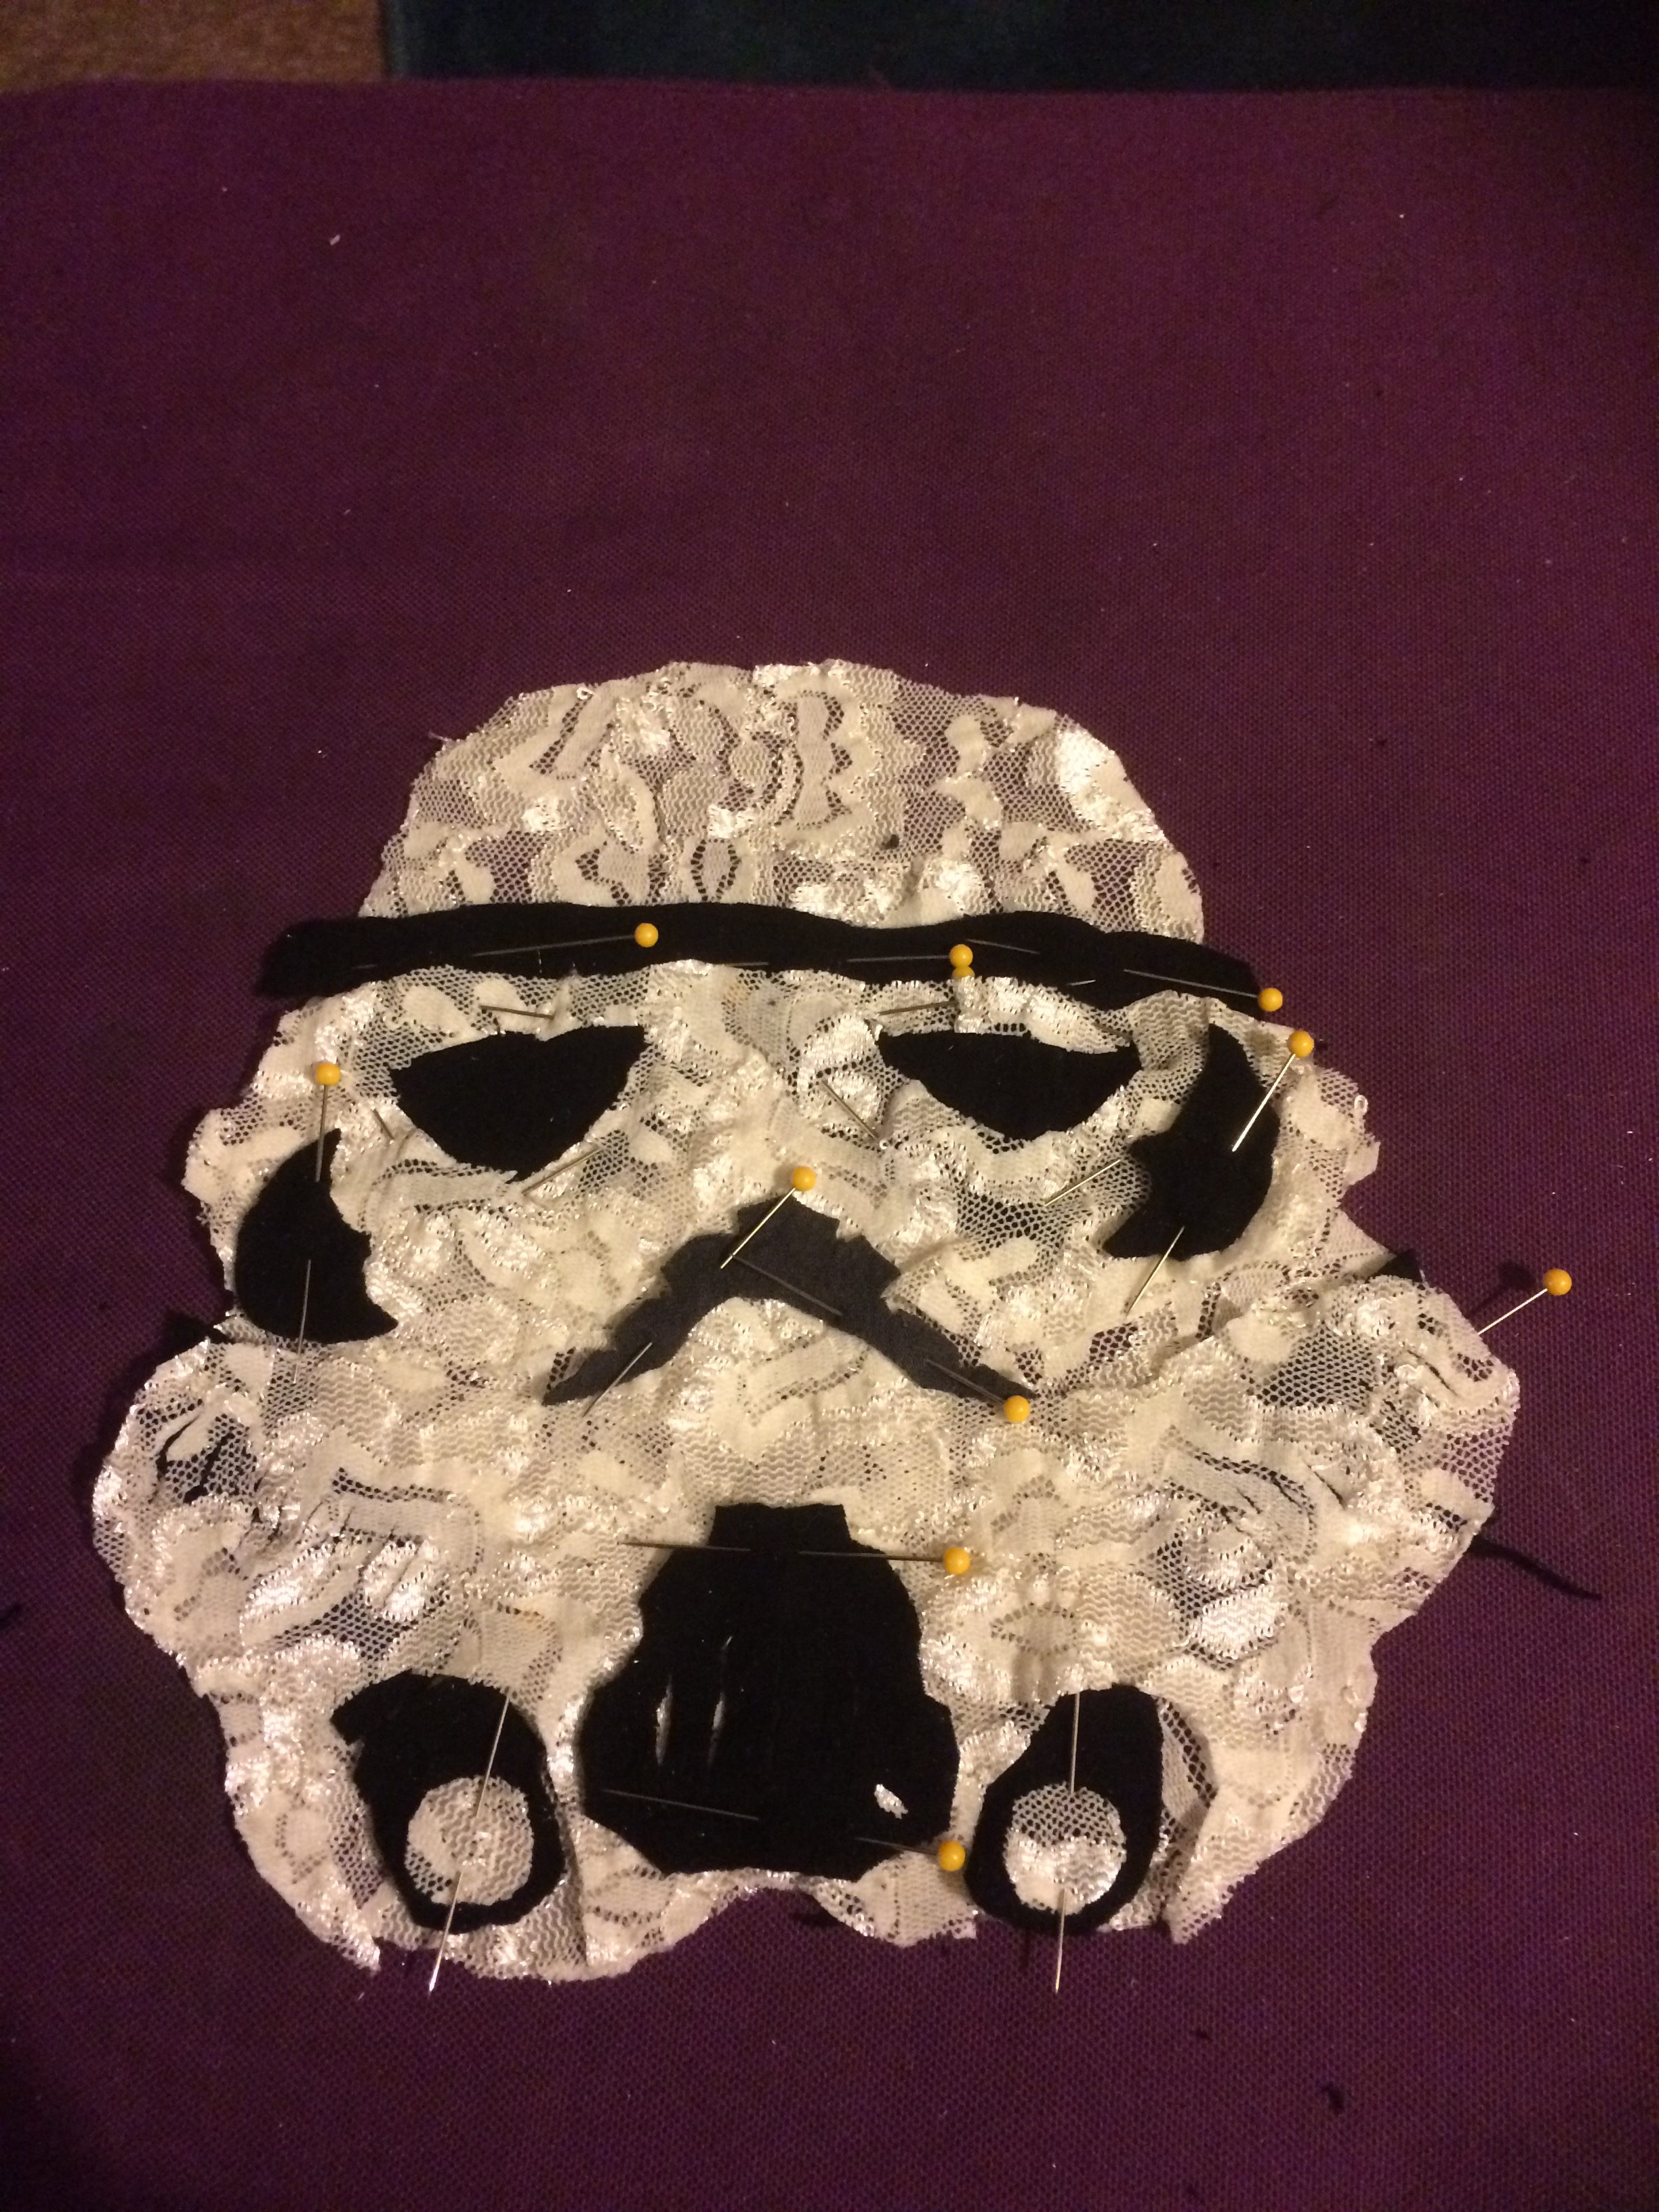
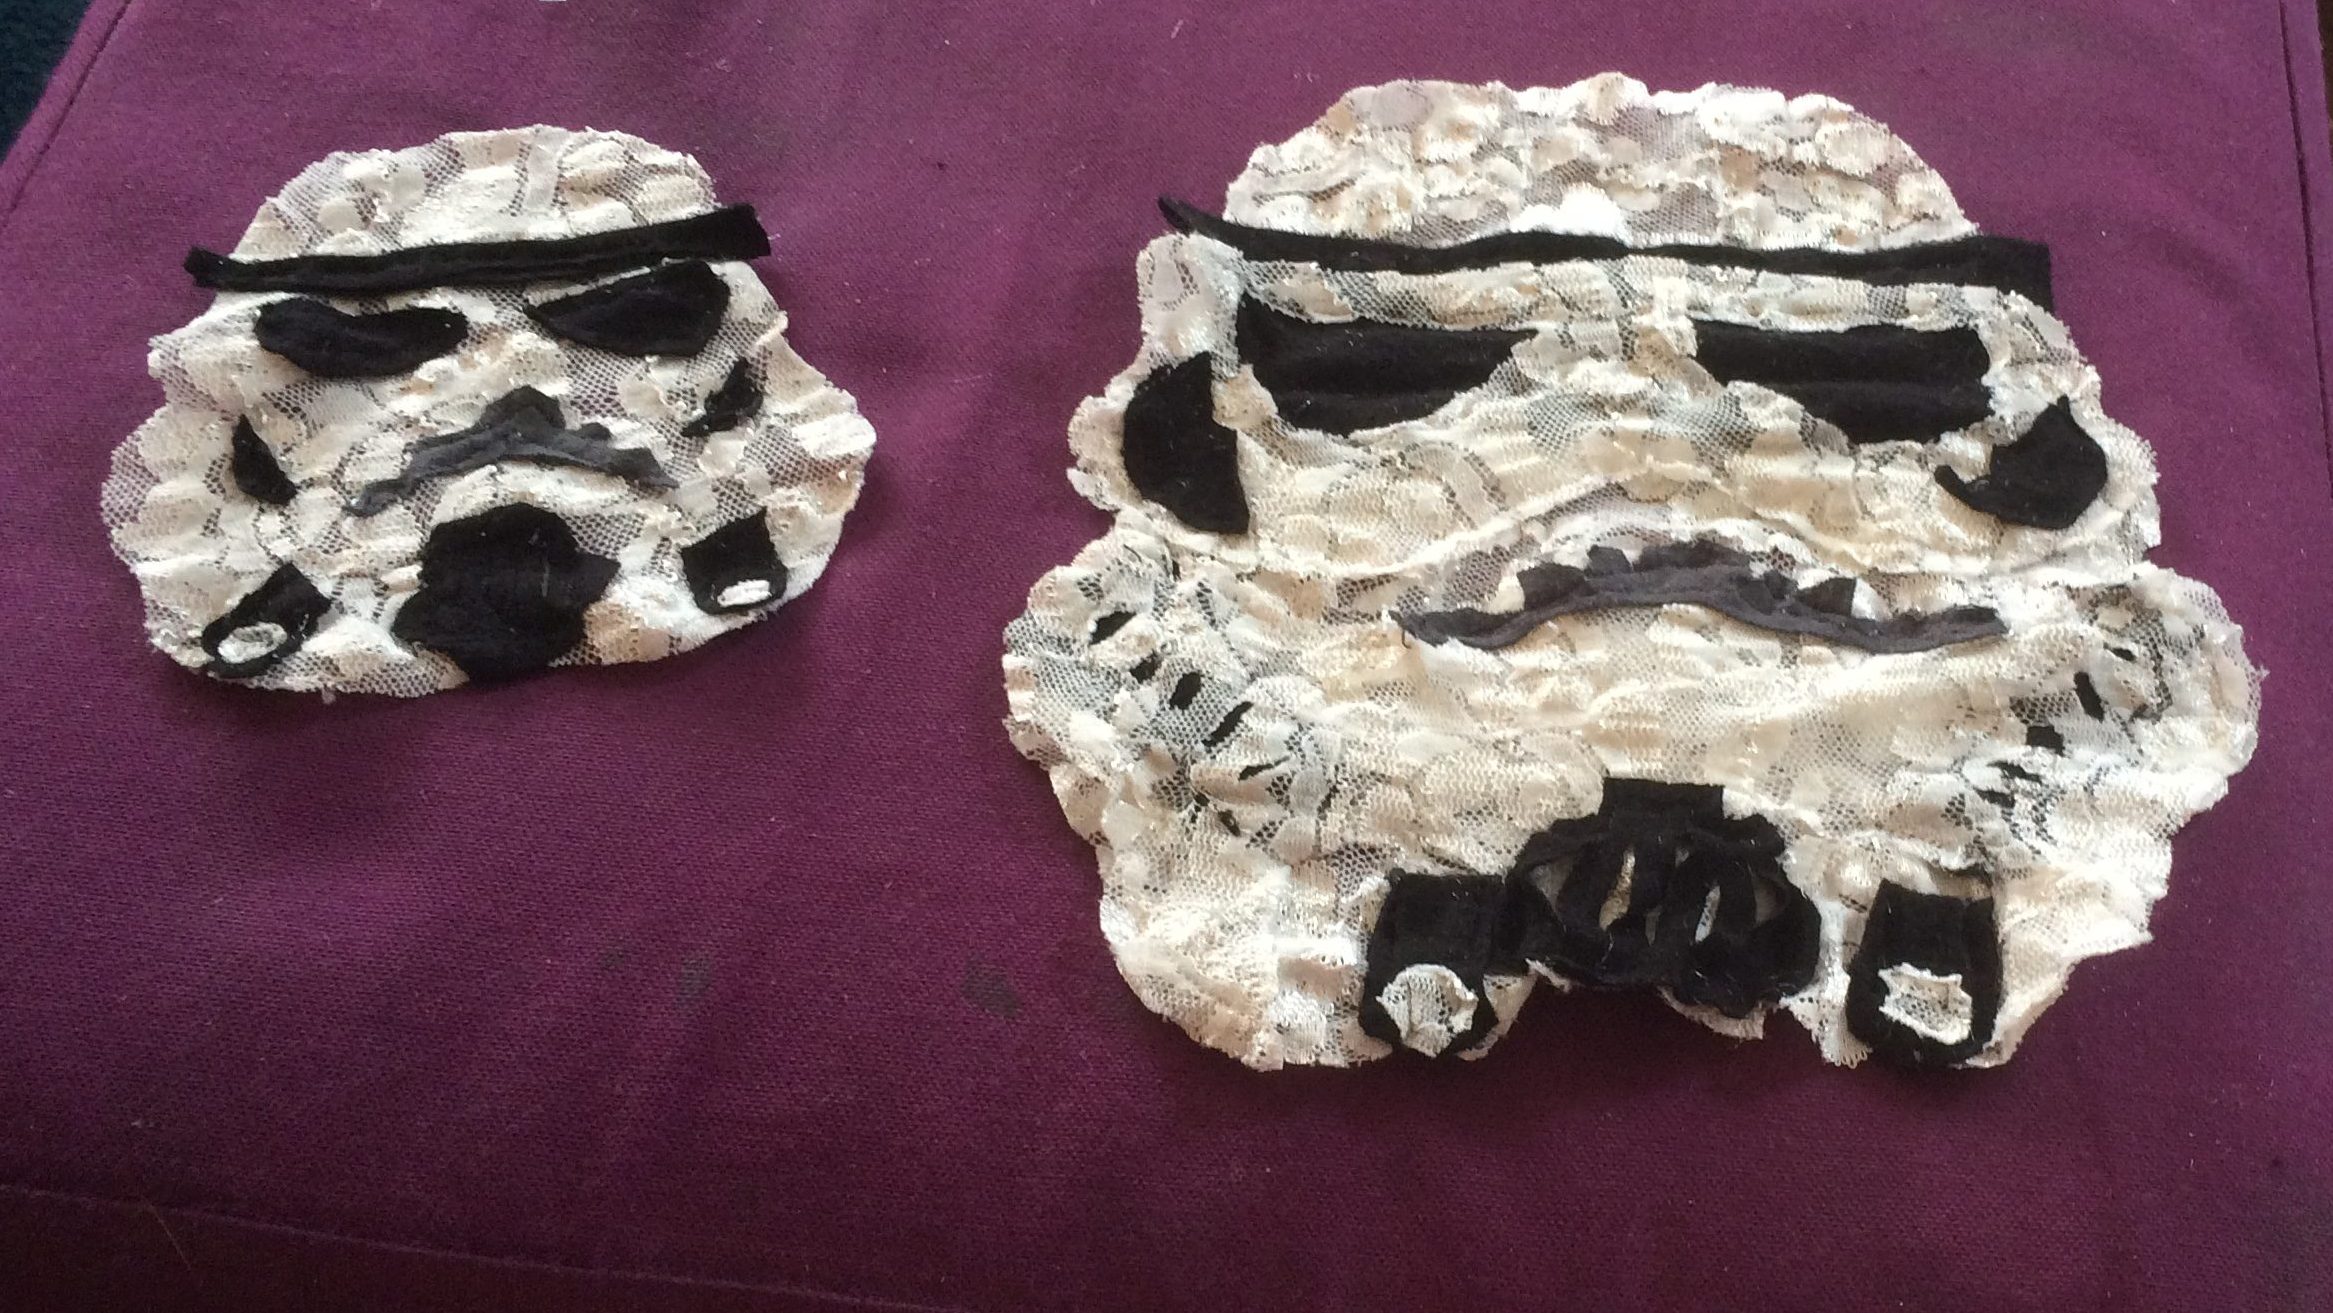
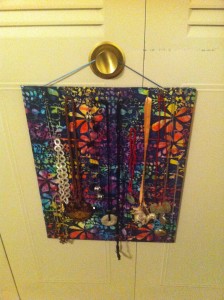
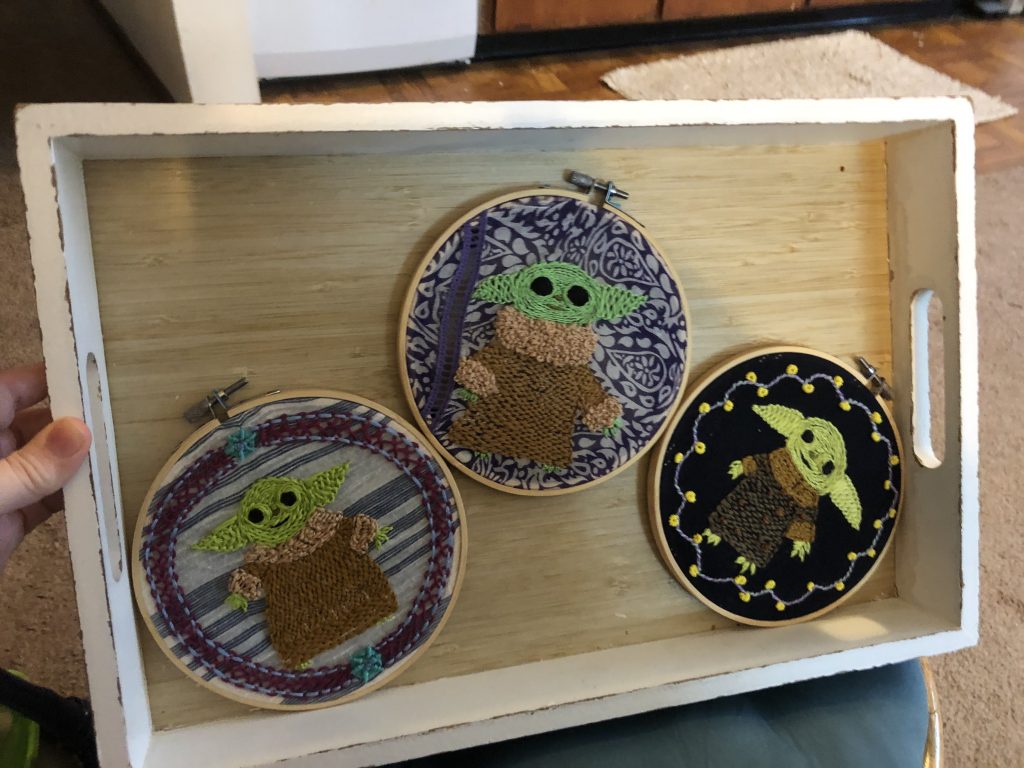
My creative output has been fairly consistent. I’ve been writing about the same amount as normal and continue to draw and embroider. I started an Instagram to feature my various craft projects. https://www.instagram.com/susantaitel/

Baby Grogu inspired several pieces.

Okay on to the numbers:

Last year I read a total of 83 books. That includes print, audio, and graphic novels. But doesn’t include short stories read on their own instead of as part of an anthology and single issues of comic runs read on a month to month basis and the many short story length or novel length or epic novel length fan fiction I read last year.

Ebooks: 28

Audiobooks: 17 That number is a lot lower than normal because most of my audio listening happens on my work commute which for most of last year my work commute has been from my bedroom to my living room.

Graphic Novels: 48 That is number is a little higher than normal since I got a subscription to Marvel Unlimited.

Library books: 5

Borrowed from friends: 4

Short Story Collections: 2

Novellas &novelettes: 5

Nonfiction, memoir, essays: 4

YA: 18

Favorites:

Solutions and Other Problems by Allie Brosh. Brosh is a master storyteller. I don’t think I laughed harder at a book all year. It also made me cry.

Young Avengers by Keiron Gillen. I’m only linking to the first volume but the whole run is fantastic.

Wow, No Thank You by Samantha Irby. I lied, I laughed just as hard at this book. Maybe more. Samantha Irby is a gem.

Rogue and Gambit by Kelly Thompson. I’d read some of Thompson’s Hawkeye run and enjoyed it. Having read more of her work I now count her as one of my favorite comics writers.

Docile by K.M Szpara. Docile went places I wasn’t expecting and treated the difficult subject matter with respect and nuance. I was so invested in Elisha’s safety and wellbeing.

Catfishing on Catnet by Naomi Kritzer. Catnet shares the place in my heart with Murderbot for pop culture loving, social awkward, heroic AI.

Jessica Jones by Kelly Thompson. Another Thompson entry. Jessica Jones had previously only been written by her creator I was a little worried to see her in the hands of another writer but Thompson got Jessica, one of my all-time favorites, exactly right. I really hope to see more of this character and writer pairing.

The Library of the Unwritten by A.J. Hackwith. A.J. has created one of the most compelling metafictional worlds I’ve ever read. I’m saving the sequel for when I need a real treat.

Call Down the Hawk by Maggie Stiefvater. I was champing at the bit for the first book of the Dreamer Trilogy that centers on Ronan from the Raven Cycle. It did not disappoint and now I’m waiting anxiously for book two.

Special shout out to Rainbow Rowell’s Runaways that I have been reading month to month. It is just phenomenal.

I read a lot of good stuff last year but probably best to stop here.

The Textile Strikes Back

Lace Stormtroopers part 2.

Before I get to the second batch of lace troopers I wanted to share a picture of my niece wearing the storm trooper hat I made her.

This was one of the troopers from the first batch.

With the second batch I did things mostly the same way as laid out in the first post. The key differences were that the lace was not a stretch fabric, the template I used was larger, and I went with the updated helmet design from the Force Awakens.

I used this picture as my template. This design ended up being much less complex to recreate in fabric than the original.

First step was to cut out a basic helmet shape from the lace for the base. Then sewed a square of black fabric to the base. I used some black velvet I had in my scrap pile. Then on top of that, I sewed on three lace pieces that created the updated helmet look. Finally, I sewed on a visor and lens details using thin black knit. The result being these.

Not bad but it needed something extra. So I decided that these weren’t just any lace troopers, these were going to bloody handprint Finn style Lace troopers. And I just so happened to have bought a starter pack of embroidery floss from target for a different project, with a nice bold red thread. So I decided to embroider the handprint on to the lace.

One small problem. I didn’t know how to embroider. So several tries and Youtube and Pinterest searches later, I had accomplished this.

That is a chain stitch, which I now knew how to do. But that wasn’t good enough. The bloody fingerprints had to be solid red. So a brief tutorial on the satin stitch, several more tries, and at least two more trips to Target to buy multiples of the same starter kit, because I kept running out of the thread and needed the same thickness and shade of red. (Which incidentally meant I ended up with about seven times of all the other colors in the kit. And what I ended up doing with them is another post entirely.) But at the end of the day, I had these.

Two bloody-handed lace troopers and/or abstract roosters, ready to be applied to the item of my choice.

I chose throw pillows. I used a blanket stitch (also learned off of youtube) to sew them on. On my first attempt even with it pinned in place it bunched up went all crooked. So I tore up the stitches, ordered a set of embroidery hoops from Amazon, and two days later tried again with the hoops, with better results. Although one still ended up a little tilted.

And there you go!


Again, if anyone out there decides to create their own lace stormtroopers, or  sith lords, or Mandalorians etc. please share the pictures.

Empire and Old Lace : A how-to

40 years ago today Star Wars: A New Hope premiered, though it was simply called Star Wars back then. So today seems as good a time as any to post a geeky craft project I came up with.

Lace Stormtroopers!

Queue the “oohs and ahs.” Feel free also to admire my terrible selfie taking skills.

This all started when I picked up a lace tee shirt at a clothing swap with the intent of using it for crafts. The problem was I had no clue what kind of craft. But eventually the idea to make stormtrooper helmets in lace came to me and I could not get it out of my head.

Here is a step by step should anyone want to try it for themselves. Unfortunately, when I was making these, I didn’t plan on creating a how-to, so I didn’t take pictures of every step. And of the pictures I did take, some have errors. So if you do want to make a lace stormtrooper of your own I advise reading the whole post before starting.

You’ll need:

White lace (one size L shirt produced two medium sized trooper helmets and one mini, with scrap leftover. Or you can purchase the lace of your choice by the yard.) The shirt I used was stretch material, but it caused some difficulties when sewing, so I would use a nonelastic fabric next time.

Black fabric of your choice. I used an old black shirt from my scrap bag.

Black thread.

White thread.

Optional dark gray fabric for some of the helmet details. The black will work fine for this but I had dark gray fabric in my scrap bag so I used it for the nose piece.

A shirt, jacket, hat, etc. to sew it on to.

Sewing machine optional. This can all be done by hand, but I did most of it on the machine. Go with whichever method you’re most comfortable with.

A printout of a trooper helmet to use as a template.

Step 1

Cut a decent sized square of lace. Pin the template to the lace and cut the fabric into an approximation of the helmet shape.

You’ll notice that when I cut the printed helmet, I left space around the outline.

Once cut, it’ll look like this,

Unpin the template (but don’t throw it away) and you’ll have this,

Viola, you’re done. Enjoy your lace trooper! Kidding. This is the bottom layer of your helmet. The details get sewn onto this.

Step 2

Pin the template to another square of lace and cut out just the visor portion of the helmet. You will want to cut the paper template with the fabric this time. Cut the remaining white sections of the helmet.

I forgot to take pictures of them laid out individually, but that is the visor piece, and the jaw and nose piece laid on top of the piece that you cut in step 1. Don’t worry if the pieces don’t fit together perfectly.

Alternately you can skip this step and sew all the detail pieces directly on the base and end up with a nice looking lace stormtrooper. I did that for the mini, but I chose this layered method for the larger ones to create an illusion of depth. And don’t we all want the illusion of depth?

Step 3

Cut out the helmet details on the black fabric. You can use the template to cut them out, but I freehanded them. If you do want to use the template for this part I recommend printing a second copy. You need two black triangles for the eye lenses. Two long thin rectangles for the side vents. One very thin strip for the top of the visor. Two half circles, with a middle point for the cheek details. Two short rectangles rounded at one end for the jaw camera-like pieces and one wacky shape (sorry, I can’t describe it any better than that) for the mouthpiece. You will also need a long V shape with ridges cut on top edge for the nose piece. That is the one piece that I used the dark gray fabric for, but you can use black for it as well.

Once cut out, pin the pieces as seen above. Sew them using black thread onto the lace pieces. You should end up with three separate pieces: the base with most of the black pieces, the jaw with the nose and mouth pieces.  And the visor with the two pointed half circles. (Note that in the picture I pinned them to the base piece, but that is wrong. They should be on the visor just to the side and slightly below the where the eye lenses will be.) (Other note the eye lenses are placed correctly in the photo. They do get sewn to the base).

Step 4

I didn’t really take pictures of this step, so I’ll do my best to describe it. You’ll be adding more detail to the sewn on details here.

On the mouth piece, to create the vent effect, cut several lines lengthwise, being sure not to start the cut below the top of the piece and ending just before the bottom of the piece. You want the shape to remain intact. (It may be easier to cut the lines before you sew it to jaw piece, but I didn’t. It’s your call.) Cut two rounded triangles in the visor for the lens pieces. You do want to pay attention to your template or reference photo for these. You can play fast and loose with the other details, but if the eye lenses are off it won’t look like a stormtrooper.

Cut out ten or so slits on each side of the jaw piece over where the long black rectangles are sewn to the base. I made my slits too thin, so they can hardly be seen, You can make them a little thicker. Or you can skip this altogether because it’s a minute detail. (If you do skip this part then you can leave out the long rectangles from step 3.

Cut out spaces on the jaw piece where the two jaw camera pieces are on the base.

Step 5

Time to sew the three separate pieces into one almost completed helmet.

Pin together and sew with white thread.

The above picture has all the pieces in the correct spots but was taken before I had sewn the details to the separate pieces. Don’t try to sew the whole piece together before you’ve done step 3. It’ll end in tears.

I don’t have a picture of this step.

Step 5.5

Cut two little circle of white lace and sew them to the jaw cameras, for jaw camera lenses, as seen in the step 5 picture. (I sewed these by hand because my sewing machine could not deal with such small stretchy pieces.) Now your helmet is complete.

Step 6

Sew your helmet onto the item of your choice. I chose a tee shirt. This is where the stretchy fabric really caused problems for me. It tended to bunch and warp as I sewed and I had to start over a few times before I was satisfied. And even then it ended up a little crooked.

And there you go!

I’ve worn this shirt a couple of times and it always makes me happy. Once I’d recovered a bit from my first attempt, I made two more with even better results.

The larger one went onto another tee shirt for a good friend who once hand-knitted me a Yoda doll. The little one I sewed onto a hat for my niece.

If anyone does follow these somewhat vague and amateurish instructions, please share the results with me. I’d love to see more lace stormtroopers in the world.

Be on the lookout for a part 2. I’m not done with lace stormtroopers yet.

Crafty Corner

I have a special place in my heart for crafts. My mother had a whole room devoted to crafts (It was twice the size of the bedroom her two daughters shared. Priorities!). Anytime my sister or I complained of boredom, out would come the glue and pipe cleaners.
Despite my fondness for crafts, I rarely do them anymore. I enjoy browsing Pinterest and Etsy for craft ideas. And when I find one that I like, I pin it or bookmark it, and think, “that’s neat, I may do that someday.” And then I don’t.
For some reason the only time I’m driven to start a craft project is if I came up with the idea on my own. If there’s already a set of directions and examples of finished product, as much as I appreciate the result, I don’t feel compelled to recreate it. It has to be my own creation. I’m not sure what that says about me.
My latest craft project was inspired by the fact that I have a lot of necklaces, and no proper way to store them. I have a jewelry box that has a couple of hooks for necklaces. But the problem was twofold, there weren’t enough hooks, and the hanging space was too short. Anytime I tried to pull out a necklace, I’d come away with a tangle of chain and ribbons. So I came up with a solution, a necklace board.
 IMG_1791
The final result
It was incredibly easy to make, and just in case anyone out there isn’t like me, and does like craft projects with simple to follow directions, I thought I’d write up a tutorial to make one of your own.
What you’ll need:
A foam board, any size you like. A piece of corrugated cardboard will probably do as well.
A nice piece of fabric. (I got a half yard of batiked cotton off of Etsy)
A glue gun.
A cord or ribbon.
A needle and thread.
Straight pins.
A tangle of necklaces.
IMG_1784
Step one
Cut the fabric to roughly the size of the board. Be sure to add an inch or two all around.
Step two
Lay the fabric face down on a flat surface. Center the board on the fabric. Put a line of hot glue on one side of the board. Fold the fabric over the glue. Repeat until the fabric is smoothly glued to the board.
 IMG_1787
Step three
Sew the cord or ribbon to the fabric on the top backside of the board.
IMG_1788
Step four
Place pins in the board. Don’t let them pierce all the way through to the back, or you have very sharp and pointy end product.
Step five
Hang the board from a doorknob or nail.
IMG_1789
Step six
Untangle the necklaces and hang them from the pins.
The tangle
You can do steps four through six in whatever order works for you.
Happy crafting!