
I have a special place in my heart for crafts. My mother had a whole room devoted to crafts (It was twice the size of the bedroom her two daughters shared. Priorities!). Anytime my sister or I complained of boredom, out would come the glue and pipe cleaners.
Despite my fondness for crafts, I rarely do them anymore. I enjoy browsing Pinterest and Etsy for craft ideas. And when I find one that I like, I pin it or bookmark it, and think, “that’s neat, I may do that someday.” And then I don’t.
For some reason the only time I’m driven to start a craft project is if I came up with the idea on my own. If there’s already a set of directions and examples of finished product, as much as I appreciate the result, I don’t feel compelled to recreate it. It has to be my own creation. I’m not sure what that says about me.
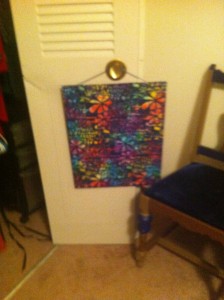
My latest craft project was inspired by the fact that I have a lot of necklaces, and no proper way to store them. I have a jewelry box that has a couple of hooks for necklaces. But the problem was twofold, there weren’t enough hooks, and the hanging space was too short. Anytime I tried to pull out a necklace, I’d come away with a tangle of chain and ribbons. So I came up with a solution, a necklace board.
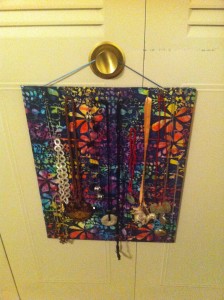
The final result
It was incredibly easy to make, and just in case anyone out there isn’t like me, and does like craft projects with simple to follow directions, I thought I’d write up a tutorial to make one of your own.
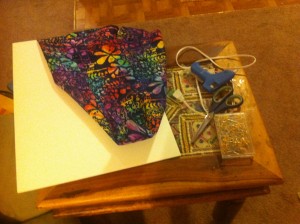
What you’ll need:
A foam board, any size you like. A piece of corrugated cardboard will probably do as well.
A nice piece of fabric. (I got a half yard of batiked cotton off of Etsy)
A glue gun.
A cord or ribbon.
A needle and thread.
Straight pins.
A tangle of necklaces.
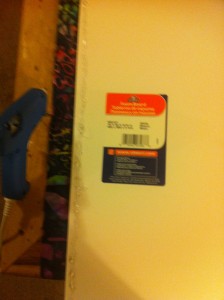
Step one
Cut the fabric to roughly the size of the board. Be sure to add an inch or two all around.
Step two
Lay the fabric face down on a flat surface. Center the board on the fabric. Put a line of hot glue on one side of the board. Fold the fabric over the glue. Repeat until the fabric is smoothly glued to the board.
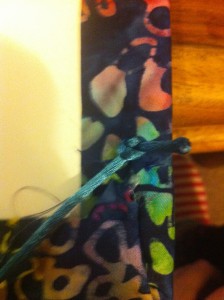
Step three
Sew the cord or ribbon to the fabric on the top backside of the board.
Step four
Place pins in the board. Don’t let them pierce all the way through to the back, or you have very sharp and pointy end product.
Step five
Hang the board from a doorknob or nail.
Step six
Untangle the necklaces and hang them from the pins.
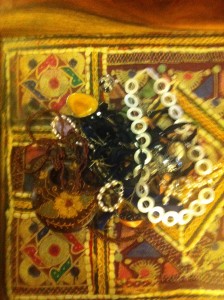
The tangle
You can do steps four through six in whatever order works for you.
Happy crafting!
Love it!
I’ll look forward to airing it the next time I come over. Too bad the pin solution probably isn’t toddler safe at my house.